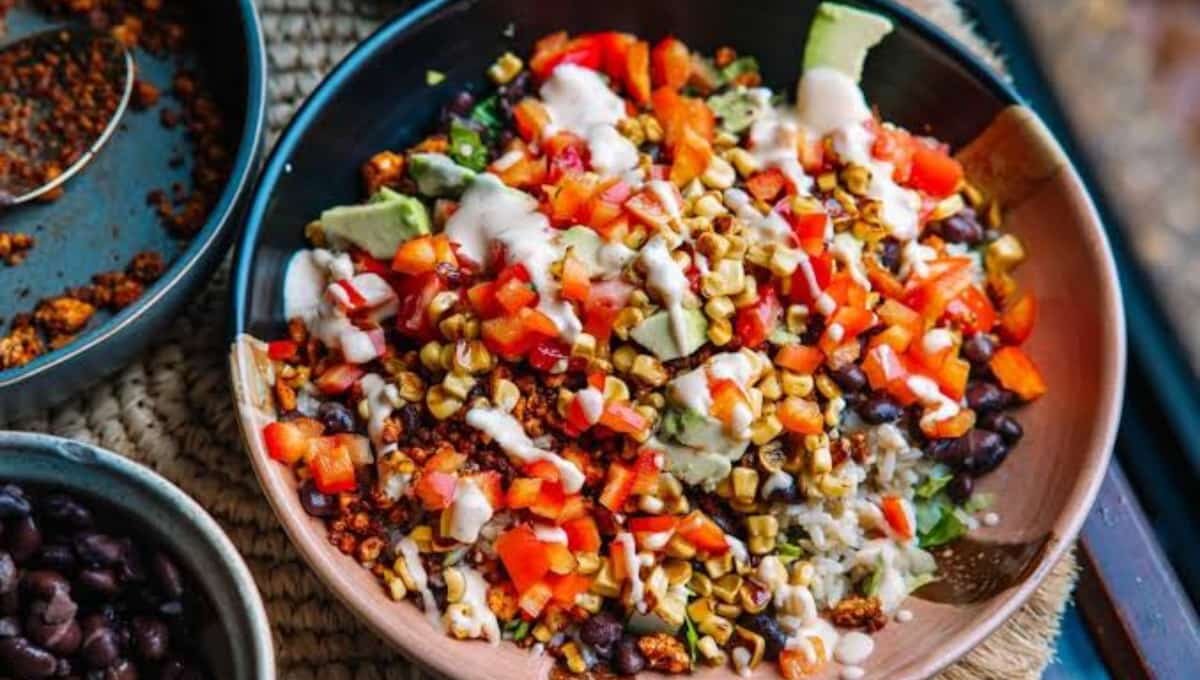
Taco Bowl Meal Prep: I used to think meal prep meant sad chicken and rice in a container, eaten cold at my desk while I questioned my life choices.
Then I started making taco bowls in bulk, and honestly, it changed everything.
These bowls hold up in the fridge, they don’t turn into mush, and every single component still tastes like it was made that day. My husband Silas is not a “eat the same thing five days in a row” kind of guy, and even he asks for these on repeat.
We started making these during a stretch when we were both working long days and barely had time to think about dinner, let alone cook it fresh every night. I needed something that felt like a real meal, not a compromise.
The trick is building each bowl with layers that reheat well and layers that stay cold and crisp. Once you get that balance down, you’ve basically unlocked a lunch system that runs itself.
What I love most is how customizable this is. Some weeks I go heavier on the beans and lighter on the meat. Other weeks it’s the opposite. The base formula stays the same, but you can shift it depending on what you’re craving or what’s already sitting in your fridge.
Side Note: If you’re new to meal prep in general, taco bowls are one of the easiest places to start. There’s very little that can go wrong here.
What You’ll Need
| Ingredient | Amount |
|---|---|
| Ground beef or ground turkey | 1.5 lbs |
| Taco seasoning | 2 tbsp (or one packet) |
| White or brown rice | 2 cups, cooked |
| Black beans, drained and rinsed | 1 can (15 oz) |
| Corn (fresh, frozen, or canned) | 1 cup |
| Cherry tomatoes, halved | 1 cup |
| Romaine lettuce, chopped | 2 cups |
| Shredded cheese | 1 cup |
| Avocado | 2, sliced |
| Lime | 2, cut into wedges |
| Red onion, diced | 1/2 cup |
| Cilantro, chopped | 1/4 cup |
| Olive oil | 2 tbsp |
| Salt and pepper | To taste |
That’s the base setup. Once you’ve made this a couple times, you’ll probably start swapping things based on whatever’s in your fridge.
Read this also: The Meal Prep Formula That Saved My Weeknights
Tools You’ll Need
- Large skillet
- Medium pot (for rice)
- Cutting board and knife
- Measuring spoons
- 4-6 meal prep containers with lids
- Mixing bowl
Pro Tips
Here’s what I’ve learned after making these bowls more times than I can count.
1. Cook your rice in broth, not water. It’s such a small swap but it adds a ton of flavor without any extra effort.
2. Keep the avocado separate until you eat. Avocado does not meal prep well on its own. Slice it fresh right before serving or your bowls will look sad by day three.
3. Season the meat heavier than you think you need to. Flavor mellows out a bit once it sits in the fridge, so don’t be shy with the taco seasoning.
4. Let the meat cool completely before packing containers. Sealing warm food traps steam, and steam is the enemy of crisp lettuce and firm rice.
5. Squeeze lime over everything right before eating, not before storing. It brightens up the whole bowl and keeps things tasting fresh instead of flat.
6. Double the batch if you’re feeding more than one person. These freeze and reheat so well that making extra barely costs you any additional time, but saves you a whole future cooking session.
I learned most of these the hard way, mostly by opening a container on day four and immediately regretting a decision I made on day one. Trust me on the avocado thing especially.
Step-by-Step Instructions
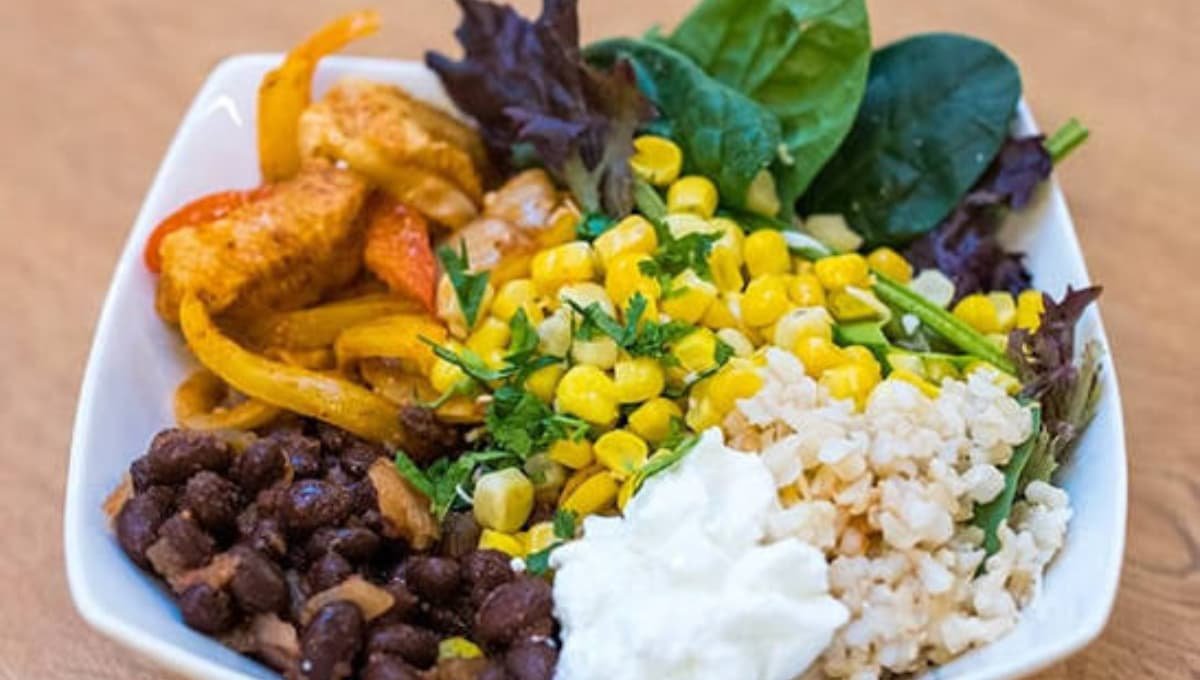
Cook the rice. Add rice to a pot with broth or water according to package instructions. Simmer until tender, then fluff with a fork and set aside.
Brown the meat. Heat a splash of olive oil in a large skillet over medium heat. Add the ground beef or turkey and cook until no longer pink, breaking it up as it cooks.
Season it. Once the meat is cooked through, drain any excess fat, then stir in the taco seasoning along with a few tablespoons of water. Let it simmer for 2-3 minutes until the sauce thickens slightly.
Warm the beans and corn. In the same pan or a separate small pot, warm the black beans and corn together for a few minutes. This step is optional but it makes a noticeable difference in flavor.
Prep your fresh ingredients. While everything else cooks, chop your lettuce, halve the tomatoes, dice the onion, and chop the cilantro.
Assemble your containers. Start with rice on the bottom, then add the meat, beans and corn, followed by the lettuce, tomatoes, onion, and cheese. Keep everything in its own little section if your containers are divided.
Store and finish later. Keep avocado, lime, and cilantro separate in small containers or bags. Add them right before eating.
I usually set aside about 20 minutes for the whole assembly line. Rice and meat cook at the same time on separate burners, which cuts the total time down quite a bit. By the time both are done, I’ve already chopped everything fresh and I’m just layering containers.
Substitutions and Variations
| Original | Swap |
|---|---|
| Ground beef | Ground chicken, ground turkey, or crumbled tofu |
| White rice | Cauliflower rice, brown rice, or quinoa |
| Black beans | Pinto beans or omit entirely |
| Cheddar cheese | Cotija, pepper jack, or a dairy-free shred |
| Romaine lettuce | Shredded cabbage or spinach |
| Corn | Roasted bell peppers |
If you’re keeping things low-carb, swapping the rice for cauliflower rice makes a big difference without sacrificing much texture.
Side Note: For a spicier version, add diced jalapeño to the meat while it cooks, or mix a spoonful of chipotle sauce into the seasoning.
Read this also: This Sticky Honey Garlic Chicken Cooks Itself on One Pan
Make-Ahead Tips
You can prep every single component up to four days ahead of time.
The meat and rice actually taste better the next day once the flavors settle in. Just keep the crisp vegetables and avocado prepped separately so they don’t wilt or brown.
If you want to freeze a batch, the meat and beans freeze beautifully. Just leave out the lettuce, tomatoes, and avocado until you’re ready to eat.
Storage and Reheating
Store assembled bowls in airtight containers for up to 4 days in the fridge.
Reheat the meat, rice, and beans in the microwave for 60-90 seconds, then add your cold toppings after. This keeps the lettuce crisp instead of turning it into a warm, wilted mess.
Do not reheat the lettuce, tomatoes, or avocado. These are meant to be added cold, always.
Nutritional Snapshot
| Per Serving (approx.) | Amount |
|---|---|
| Calories | 480 |
| Protein | 32g |
| Carbs | 42g |
| Fat | 18g |
| Fiber | 8g |
Numbers will shift a bit depending on your protein choice and how heavy handed you are with cheese and rice.
Meal Pairings
These bowls are pretty much a full meal on their own, but if you want to round things out:
- Serve with tortilla chips and salsa on the side
- Add a small side of elote for a fun twist
- Pair with a simple mango salad for something fresh and sweet
- A cold horchata or agua fresca rounds things out nicely if you want a drink that feels like part of the meal
FAQs Related to Taco Bowl Meal Prep
1. Can I make this vegetarian?
Yes. Swap the meat for seasoned black beans, crumbled tofu, or a plant-based ground substitute.
2. How long do taco bowls last in the fridge?
Up to 4 days when the wet and fresh ingredients are stored separately.
3. Can I freeze taco bowl meal prep?
The meat, beans, and rice freeze well for up to 3 months. Skip freezing the lettuce, tomatoes, and avocado.
4. What containers work best for meal prep bowls?
Divided glass containers work great because they keep ingredients from getting soggy against each other.
5. Is this recipe good for weight loss meal prep?
It can be. Swapping rice for cauliflower rice and going light on cheese keeps it lower in calories while still filling.
6. Can I make this recipe spicy?
Yes. Add diced jalapeño while cooking the meat, or stir a spoonful of chipotle sauce or hot sauce into the seasoning mix.
7. How many taco bowls does this recipe make?
This makes about 4 to 6 bowls depending on how generous you are with portions, which makes it easy to stretch across a full work week.
Conclusion
Once you make a batch of these, you’ll realize meal prep doesn’t have to feel like a chore or taste like punishment. Silas still asks me to make a double batch when I do these, which says a lot considering how picky he can be about eating the same thing twice.
Give this one a try and let me know in the comments how yours turned out. I’d love to hear what swaps you made or if you found a combo you loved even more.
If you end up loving this as much as we do, it’s worth keeping the ingredient list saved somewhere so you can throw it together without thinking twice on a busy Sunday. That’s exactly how it’s become a regular in our house.