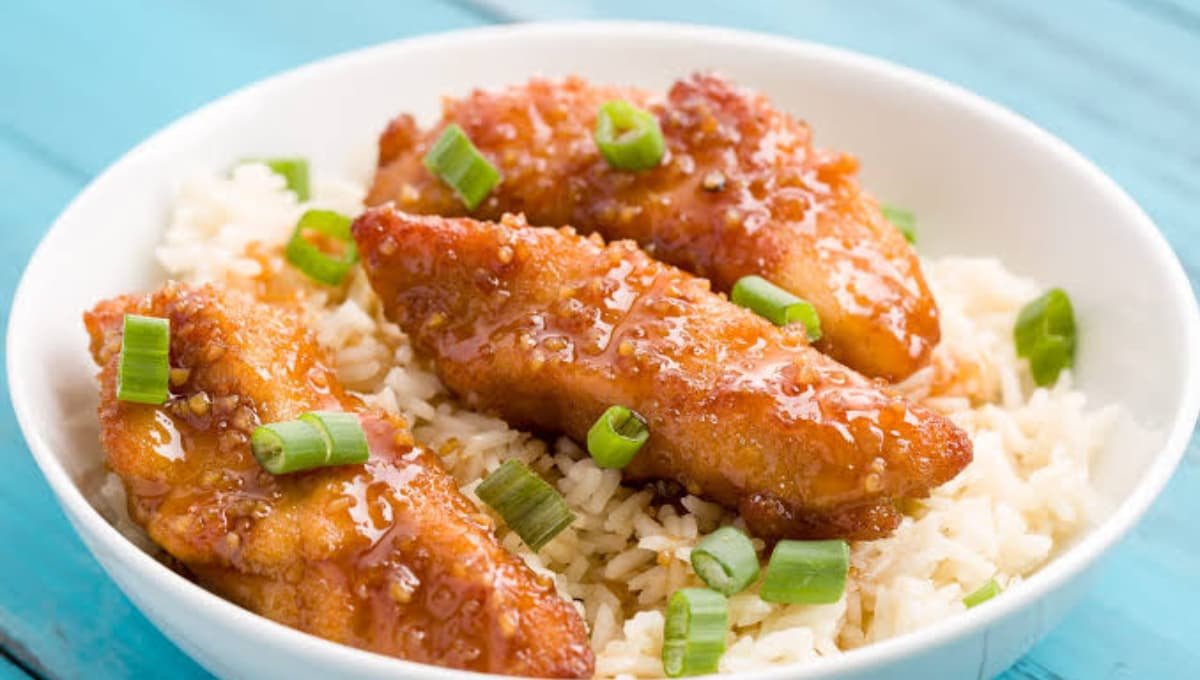
I burned my first “healthy dinner” attempt so badly that my smoke alarm and I became personal enemies for a solid month.
That was years ago, back when I thought cooking meant babysitting six pots at once. These days my go-to weeknight move is the complete opposite. One pan. One oven. Dinner that tastes like I actually tried.
This sheet pan honey garlic chicken is the recipe I text to friends when they say they “can’t cook.” You can. You just needed the right pan and the right amount of garlic.
The sauce is sticky, garlicky, a little sweet, and it caramelizes right onto the chicken and veggies while everything roasts together. No extra dishes. No standing over a stove. Just one tray doing all the work.
Side Note: If you’re someone who meal preps for the week, this recipe doubles beautifully and reheats without turning rubbery, which is more than I can say for most chicken dinners.
I’ve made a lot of one pan chicken recipes over the years, and most of them fall into one of two traps. Either the sauce is bland and just sort of sits there, or the vegetables turn into a mushy pile while the chicken is still raw in the middle. This one solves both problems by staggering when everything hits the pan, so nothing gets overcooked or undercooked by the time it all comes together.
It’s also incredibly forgiving. If you’re new to cooking, this is a great one to start with because there’s very little room to mess it up. Even if your chicken pieces are slightly uneven in size, the sauce and the high oven heat do most of the heavy lifting for you.
What You’ll Need
| Ingredient | Amount |
|---|---|
| Boneless, skinless chicken thighs | 1.5 lbs |
| Baby potatoes, halved | 1 lb |
| Broccoli florets | 2 cups |
| Honey | 1/3 cup |
| Low sodium soy sauce | 1/4 cup |
| Garlic, minced | 5 cloves |
| Olive oil | 2 tbsp |
| Apple cider vinegar | 1 tbsp |
| Red pepper flakes | 1/2 tsp |
| Salt | 1/2 tsp |
| Black pepper | 1/4 tsp |
| Sesame seeds, for garnish | 1 tsp |
| Green onions, sliced, for garnish | 2 |
Read this also: This 5-Minute Yum Yum Sauce Beats Any Hibachi Grill
Tools You’ll Need
- Large rimmed baking sheet
- Parchment paper or foil
- Mixing bowl
- Whisk
- Sharp knife and cutting board
- Meat thermometer
Pro Tips
1. Cut your potatoes small. Chicken thighs cook faster than whole potatoes, so slicing them into smaller, even chunks keeps everything finishing around the same time.
2. Don’t skip the sear on the sauce. Brushing extra sauce onto the chicken halfway through baking gives you that sticky, caramelized top instead of a flat, steamed look.
3. Give everything room to breathe. Crowding the pan traps steam and you end up with soggy veggies instead of roasted ones. Use two pans if you have to.
4. Add broccoli halfway through. It cooks faster than potatoes and chicken, so tossing it in later keeps it from turning mushy or burnt.
5. Pat your chicken dry first. A dry surface means better browning. Wet chicken basically steams itself and you lose that golden edge.
Bonus tip: If your oven runs hot, keep an eye on the sauce toward the end. Honey based sauces can go from perfectly caramelized to burnt in under a minute once the sugars start to darken.
How To Make Sheet Pan Honey Garlic Chicken
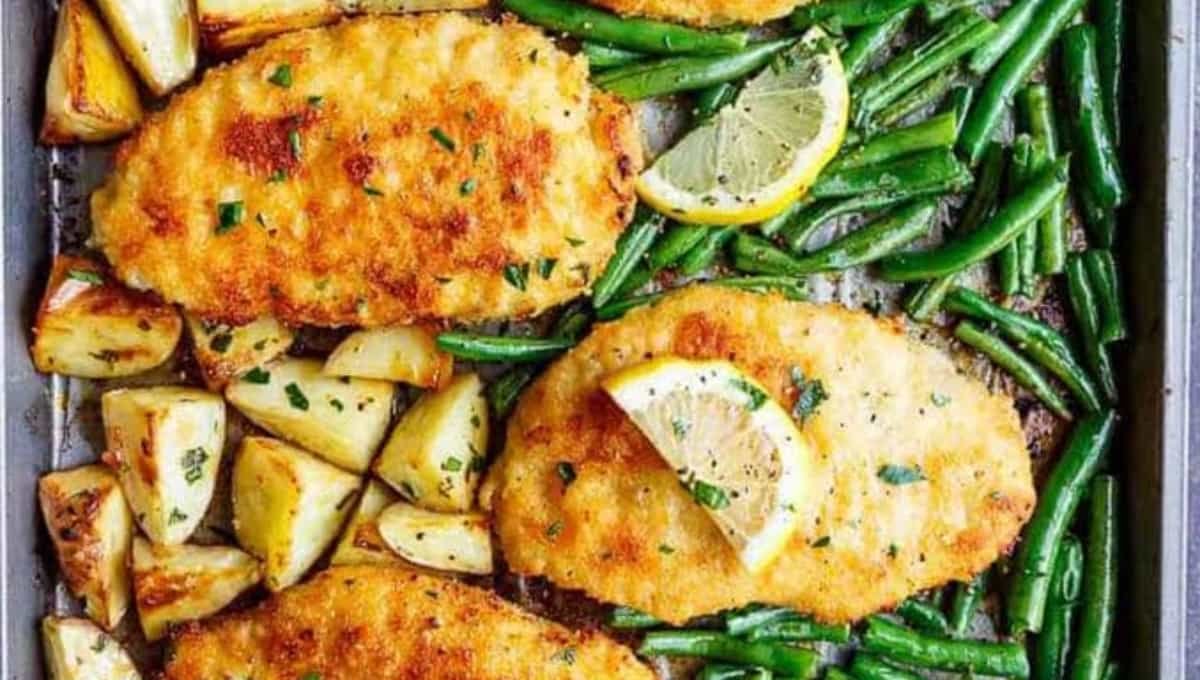
Step 1: Preheat and prep. Preheat your oven to 400°F and line a large baking sheet with parchment paper. Lining the pan isn’t just for easy cleanup, it also keeps the honey in the sauce from burning directly onto the metal, which is a pain to scrub off later.
Step 2: Make the sauce. In a mixing bowl, whisk together the honey, soy sauce, garlic, olive oil, apple cider vinegar, red pepper flakes, salt, and pepper.
Step 3: Toss the potatoes. Add the halved potatoes to the pan and drizzle with about a third of the sauce. Toss to coat and spread them out in a single layer. Roast for 15 minutes on their own since they take the longest.
Step 4: Add the chicken. Push the potatoes to one side. Add the chicken thighs to the pan and pour the remaining sauce over the top, making sure every piece gets coated.
Step 5: Roast. Bake for 20 minutes, then pull the pan out and flip the chicken pieces so they cook evenly on both sides.
Step 6: Add the broccoli. Scatter the broccoli florets around the chicken and potatoes. Drizzle with a little extra olive oil if the pan looks dry.
Step 7: Finish roasting. Return to the oven for another 12 to 15 minutes, until the chicken hits 165°F internally and the broccoli is tender with slightly crispy edges.
Step 8: Broil for color. For that sticky, caramelized top, broil for the last 2 minutes. Watch closely so it doesn’t burn.
Step 9: Garnish and serve. Top with sesame seeds and sliced green onions before serving straight from the pan.
Substitutions and Variations
| Original | Swap |
|---|---|
| Chicken thighs | Chicken breast (reduce bake time slightly) |
| Potatoes | Sweet potatoes or baby carrots |
| Broccoli | Brussels sprouts or green beans |
| Honey | Maple syrup for a different sweetness |
| Soy sauce | Coconut aminos or tamari for gluten free |
| Red pepper flakes | Sriracha for a wetter heat |
Side Note: For a low carb version, swap the potatoes for cauliflower florets and you’ve basically got a keto-friendly tray dinner.
Read this also: Chicken Fried Chicken So Crispy It Tastes Like a Diner Made It
Make Ahead Tips
You can whisk the sauce up to 3 days ahead and store it in the fridge in a sealed jar. You can also chop the potatoes and broccoli a day ahead, just keep them in separate containers so the broccoli doesn’t turn the potatoes soggy.
If you want to fully prep the dish ahead, marinate the chicken in the sauce for up to 24 hours before roasting. It only makes the flavor stronger.
Storage and Reheating
Store leftovers in an airtight container in the fridge for up to 4 days.
To reheat, skip the microwave if you can. A 350°F oven for about 10 minutes brings back the crispy edges much better than steaming everything in the microwave.
This also freezes well for up to 2 months. Thaw overnight in the fridge before reheating.
Nutritional Snapshot (Per Serving)
| Nutrient | Amount |
|---|---|
| Calories | ~380 |
| Protein | 32g |
| Carbs | 34g |
| Fat | 12g |
| Fiber | 4g |
Note: This is an estimate based on standard ingredient measurements and will vary depending on exact brands used.
Meal Pairings
- A simple cucumber salad with rice vinegar
- Steamed jasmine rice to soak up the extra sauce
- A cold glass of iced green tea
- Garlic naan if you want to go a totally different direction with the flavors
FAQs Related to Sticky Honey Garlic Chicken
1. Can I use chicken breast instead of thighs?
Yes. Chicken breast works, but it cooks faster and dries out more easily, so check the internal temperature a few minutes earlier.
2. Why is my sauce not sticking to the chicken?
This usually happens if the pan is too crowded or the chicken wasn’t patted dry first. Moisture on the pan waters down the sauce instead of letting it caramelize.
3. Can I make this ahead for meal prep?
Absolutely. It holds up well in the fridge for several days and actually tastes even better the next day once the flavors settle.
4. Is this recipe gluten free?
It can be. Just swap the regular soy sauce for tamari or coconut aminos.
5. Can I add more vegetables?
Definitely. Bell peppers, snap peas, and zucchini all work well here. Just add quicker cooking vegetables later in the bake time.
6. Do I need to marinate the chicken first?
Not for this recipe. Because everything roasts together and the sauce is basted on twice, you get plenty of flavor without a marinating step. Marinating ahead of time only makes it more intense, it’s never required.
7. My sauce is too thin. What did I do wrong?
Nothing, most likely. The sauce thickens as it bakes and reduces on the pan. If it still feels too thin at the end, spoon a little off the pan into a small saucepan and simmer it for a few minutes before pouring it back over the chicken.
Wrapping Up
This is the kind of dinner that makes weeknights feel less like a chore and more like something you actually look forward to. One pan, real flavor, minimal cleanup.
Give it a try this week and let me know how it turns out. Did you swap anything? Did your family go back for seconds? Drop a comment below, I genuinely love hearing how these recipes turn out in your kitchen.