I’ve made chocolate chip cookies wrong for years. Underbaked centers, burnt edges, cookies that spread into one giant sheet pan pancake. It took way too much trial and error to land on a version that actually works every single time.
This is that version.
It’s got crispy edges, a chewy middle, and pools of melted chocolate in every bite. No chilling the dough for 24 hours. No weird kitchen scale math. Just a straightforward recipe that turns out bakery-level cookies from your regular kitchen.
I’ve tested this one more times than I’d like to admit. Different butter temperatures, different sugar ratios, different oven racks. Somewhere around batch number twelve, it finally clicked.
Turns out the difference between a good cookie and a great one usually comes down to two or three small details most recipes skip over entirely.
Side Note: If you’ve ever pulled a tray of cookies out of the oven and thought “why are these flat,” stick around. I’ll cover exactly why that happens and how to fix it.
What You’ll Need
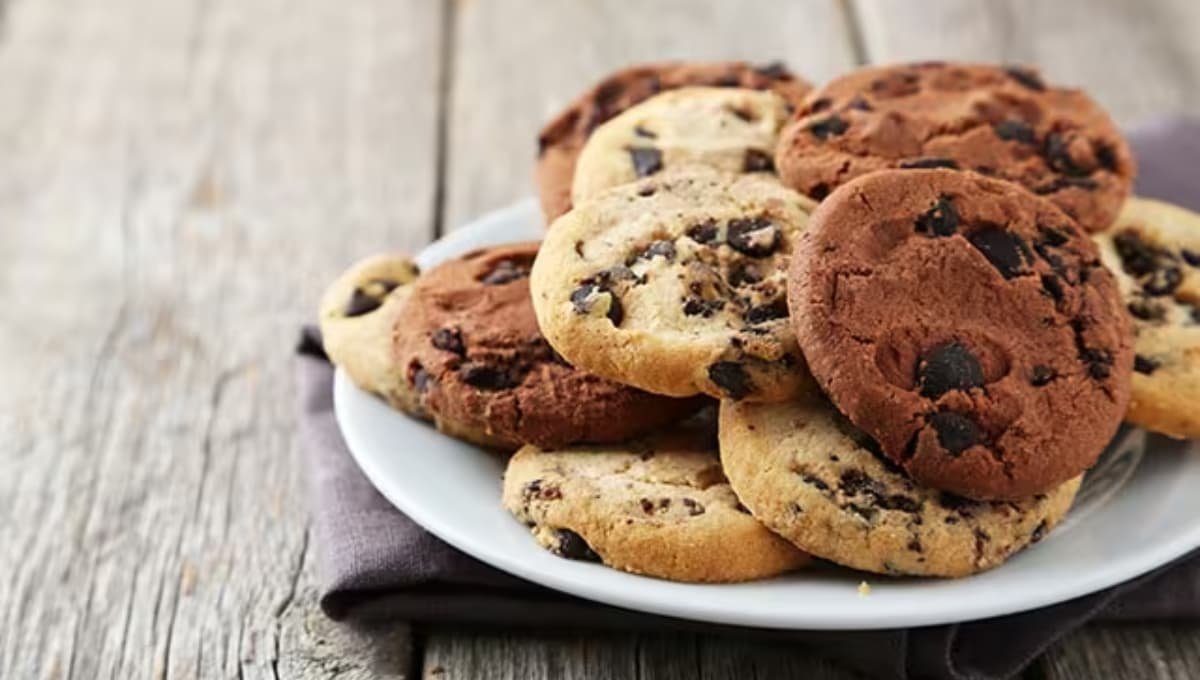
Here’s everything going into the mixing bowl:
| Ingredient | Amount |
|---|---|
| All-purpose flour | 2 ¼ cups |
| Baking soda | 1 tsp |
| Salt | 1 tsp |
| Unsalted butter, softened | 1 cup (2 sticks) |
| Granulated sugar | ¾ cup |
| Brown sugar, packed | ¾ cup |
| Vanilla extract | 1 tsp |
| Large eggs | 2 |
| Semi-sweet chocolate chips | 2 cups |
| Flaky sea salt (optional, for topping) | A pinch |
Nothing fancy. No mystery ingredients you have to hunt down at three different stores.
Read this also: Kids School Lunches That Actually Come Back Empty
Tools You’ll Need
- Stand mixer or hand mixer
- Mixing bowls (large and medium)
- Measuring cups and spoons
- Cookie scoop or tablespoon
- Baking sheets
- Parchment paper
- Wire cooling rack
Pro Tips
These are the details that separate an okay cookie from the one people ask you for the recipe of.
- Room temperature butter matters more than you think. Too cold and it won’t cream properly. Too melted and your cookies will spread thin and greasy. Aim for butter you can press a finger into without it sliding around.
- Don’t skip the two sugars. Brown sugar brings moisture and chew. White sugar brings crisp edges. Using only one throws off the whole texture.
- Slightly underbake them. Pull the tray when the edges are golden but the centers still look a little soft. They’ll finish setting up on the hot pan. This is the single biggest reason store-bought cookies taste dry compared to homemade.
- Chill the dough for at least 30 minutes if your kitchen runs warm. Even a short rest firms up the butter and keeps the cookies from spreading into puddles. If you’ve got the patience, a full hour makes an even bigger difference.
- Weigh your dough balls if you want cookies that bake evenly. I use about 2 tablespoons per cookie for a classic size, but you can go bigger for that thick bakery style. Just remember, bigger cookies need an extra minute or two in the oven.
- Use a light-colored baking sheet. Dark pans absorb more heat and can scorch the bottoms before the centers finish baking. If dark pans are all you’ve got, keep a close eye on the last two minutes.
How to Make Chocolate Chip Cookies
Step 1: Preheat and prep. Preheat your oven to 375°F. Line your baking sheets with parchment paper.
Step 2: Mix the dry ingredients. In a medium bowl, whisk together the flour, baking soda, and salt. Set this aside.
Step 3: Cream the butter and sugars. In your mixer, beat the softened butter with both sugars until it’s light and fluffy. This usually takes about 2 to 3 minutes. Don’t rush this step. It’s what gives the cookies their texture.
Step 4: Add the wet ingredients. Mix in the vanilla and eggs, one at a time, beating well after each addition.
Step 5: Combine. Slowly add the flour mixture into the wet ingredients, mixing just until combined. Overmixing here leads to tough cookies, so stop as soon as you don’t see streaks of flour.
Step 6: Fold in the chocolate chips. Use a spatula to fold them in by hand. This keeps the dough from getting overworked.
Step 7: Scoop and space. Drop rounded scoops of dough onto your prepared baking sheets, leaving about 2 inches between each one.
Step 8: Bake. Bake for 9 to 11 minutes, until the edges are golden and the centers still look slightly underdone.
Step 9: Cool. Let the cookies rest on the baking sheet for 5 minutes before moving them to a wire rack. This is where they finish cooking through.
Step 10: Finish (optional). Sprinkle a tiny pinch of flaky sea salt on top while they’re still warm.
Substitutions and Variations
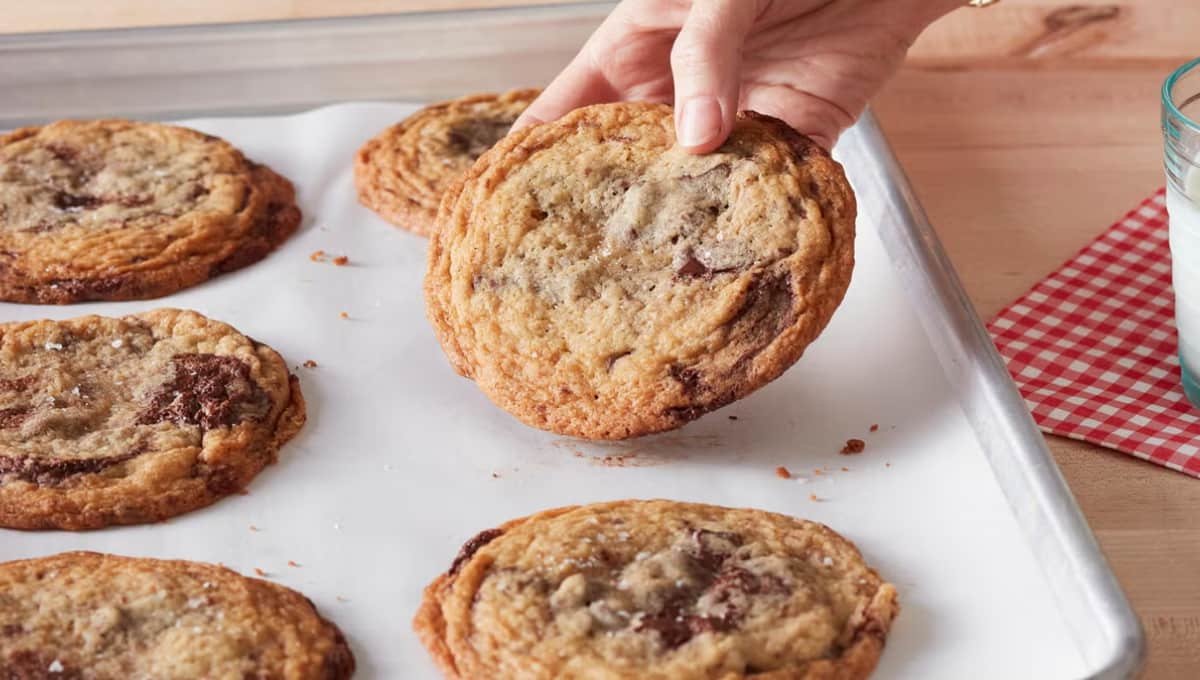
You can absolutely make this recipe your own. Here’s how:
| Original | Swap | Result |
|---|---|---|
| Semi-sweet chips | Dark chocolate chunks | Richer, less sweet flavor |
| All-purpose flour | Gluten-free 1:1 blend | Works well, slightly denser texture |
| Butter | Vegan butter | Dairy-free version, similar texture |
| Chocolate chips | Chopped walnuts + chips | Adds crunch and nutty flavor |
| Vanilla extract | Almond extract (half amount) | Bakery-style flavor twist |
Want to get creative? Try browned butter instead of softened butter for a deeper, nuttier flavor. It’s a small step that changes the whole cookie.
You can also play with the ratio of white to brown sugar. More brown sugar means a softer, chewier cookie. More white sugar means crispier edges and a slight snap when you bite in.
Read this also: 11 Back to School Dinner Ideas That’ll Actually Save Your Weeknights
Make Ahead Tips
This dough freezes beautifully, which makes it perfect for having fresh cookies on demand.
- Scoop the dough into balls first, then freeze them on a tray until solid.
- Once frozen, transfer the dough balls into a freezer bag or airtight container.
- They’ll keep for up to 3 months.
- Bake straight from frozen, just add 1 to 2 extra minutes to the bake time.
No need to thaw first. This is genuinely one of my favorite kitchen shortcuts.
Storage and Leftovers
Baked cookies stay soft for up to 5 days when stored properly.
- Keep them in an airtight container at room temperature.
- Add a slice of bread to the container. It sounds strange, but the cookies pull moisture from the bread and stay soft longer.
- To freeze baked cookies, layer them between parchment paper in a freezer-safe container. They’ll keep for up to 3 months.
- Reheat frozen cookies in the microwave for 10 to 15 seconds to bring back that fresh-baked texture.
Cooking Time Efficiency Tips
If you’re baking multiple trays, here’s how to keep things moving without slowing down.
- Prep two baking sheets at once so the next batch is ready to go the moment one comes out.
- Use a second bowl to portion dough while the first tray bakes.
- Rotate your trays halfway through baking if your oven runs hot on one side.
- Let baking sheets cool completely between batches, or the dough will start spreading before it even hits the oven.
Nutritional Snapshot
Per cookie (based on a batch of 24):
| Nutrient | Approximate Amount |
|---|---|
| Calories | 180 |
| Fat | 9g |
| Carbohydrates | 24g |
| Sugar | 15g |
| Protein | 2g |
These numbers will shift depending on the size of your cookies and any substitutions you make.
Meal Pairings
Chocolate chip cookies work well with:
- A cold glass of milk (the classic pairing for a reason)
- Vanilla ice cream sandwiched between two warm cookies
- A cup of coffee for an afternoon treat
- Crumbled over yogurt or ice cream as a topping
FAQs Related to Chocolate Chip Cookies
1. Why did my cookies come out flat?
This usually happens when the butter was too warm or melted, or the dough wasn’t chilled before baking. Warm dough spreads faster than the edges can set.
2. Can I make the dough ahead of time?
Yes. The dough keeps in the fridge for up to 3 days, or in the freezer for up to 3 months.
3. Why are my cookies dry instead of chewy?
This is almost always from overbaking. Pull them from the oven when the centers still look slightly underdone.
4. Can I double this recipe?
Yes, this recipe doubles easily. Just bake in batches so you’re not overcrowding the oven.
5. Do I need to use a stand mixer?
No, a hand mixer works fine, or even a wooden spoon and some elbow grease if that’s what you have.
6. Why do bakery cookies look thicker than mine?
Bakeries often use a higher ratio of flour to fat and chill the dough longer before baking, which keeps the cookies from spreading as much. Chilling your dough for an hour or more will get you closer to that look.
7. Can I add extra mix-ins?
Yes, this dough handles extras well. Try folding in a handful of chopped pecans, toffee bits, or even pretzel pieces along with the chocolate chips.
Conclusion
This is the chocolate chip cookie recipe I keep coming back to. It’s simple enough for a weeknight but good enough that people ask what bakery you got them from.
Give it a try this week, and let me know in the comments how yours turn out. If you made any swaps or ran into questions along the way, drop them below. I read every comment.