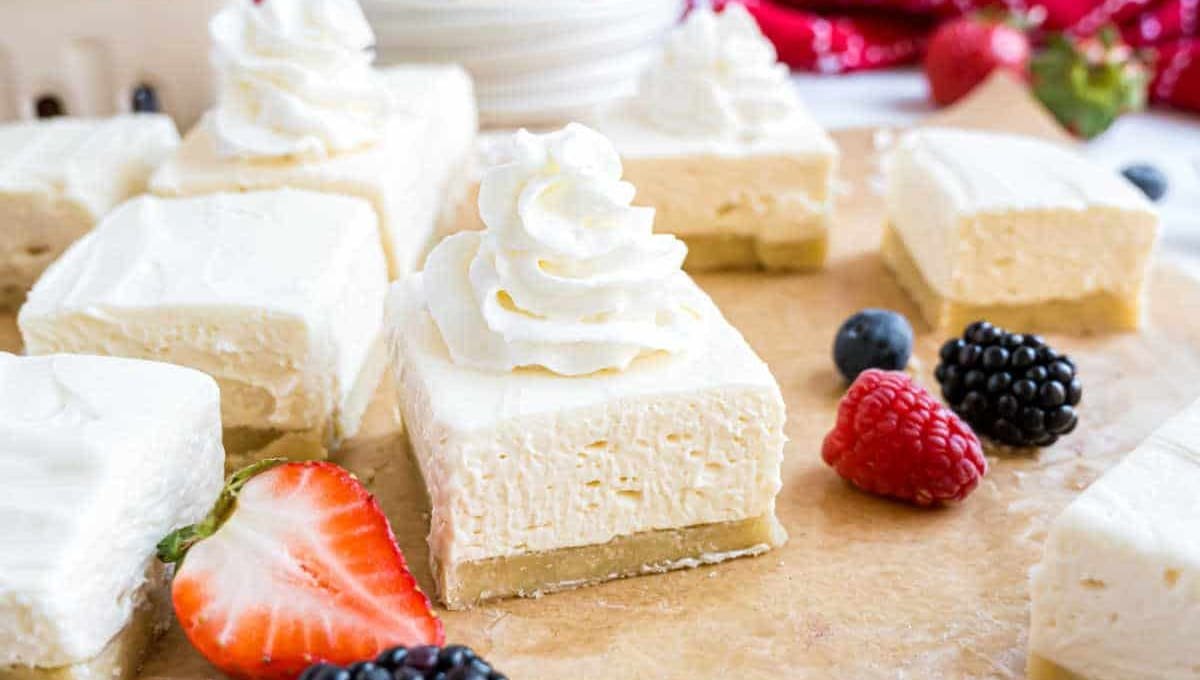
Silas has a sweet tooth that does not care one bit about my grocery budget or his blood sugar. So when he started asking for dessert every single night, I had to come up with something that would not turn into a nightly sugar crash for either of us.
That is how these little cheesecake bites happened. No oven, no fuss, and they taste like the filling from a New York cheesecake without a single spoonful of sugar in the whole batch.
I made a batch on a random Tuesday just to see if they would set properly in the freezer, and Silas ate four before I even got a picture. That is basically my quality control system at this point.
These are rich, tangy, and perfectly portioned, which makes them dangerously easy to grab one after another. They also happen to be low carb, gluten free, and simple enough that a first-time baker will not mess them up.
What sold me on this recipe is how close it gets to real cheesecake without any of the baking stress. There is no water bath, no cracked top, and no waiting around for an oven to preheat. You mix, you freeze, and you are done.
I also like that the portion size is already built in. It is way too easy to cut yourself a huge slice of regular cheesecake and eat the whole thing in one sitting. These bites stop that problem before it starts, since each one is already a single serving.
What You’ll Need
| Ingredient | Amount |
|---|---|
| Cream cheese, softened | 16 oz (2 blocks) |
| Powdered sugar-free sweetener (like allulose or monk fruit blend) | 1/2 cup |
| Heavy cream | 1/2 cup |
| Vanilla extract | 1 tsp |
| Lemon juice | 1 tbsp |
| Almond flour | 1 cup |
| Butter, melted | 3 tbsp |
| Cinnamon | 1/4 tsp |
| Salt | pinch |
Side Note: I use allulose in the filling because it does not leave that cooling aftertaste some sweeteners have. If you only have a monk fruit and erythritol blend on hand, that works too, just taste as you go since sweetness levels vary a lot between brands.
Read this also: No oven, no fuss, just 15 minutes to irresistible peanut butter protein balls.
Tools You’ll Need
- Hand mixer or stand mixer
- Mixing bowls (2)
- Silicone mini muffin pan or regular muffin tin with liners
- Rubber spatula
- Measuring cups and spoons
Pro Tips
Getting these right on the first try comes down to a few small details.
- Soften your cream cheese fully. Cold cream cheese leaves lumps no matter how long you mix, and lumpy cheesecake filling is not a good look.
- Do not skip the lemon juice. It cuts through the richness and gives that classic cheesecake tang, even in a tiny amount.
- Press the crust firmly. A loose crust crumbles the second you pick up the bite. Use the back of a spoon or your fingers to really pack it down.
- Freeze, do not just refrigerate, for the first set. The filling needs the cold to firm up quickly. You can move them to the fridge after that.
- Use a cookie scoop for the filling. It keeps every bite the same size, which matters more than you would think when you are trying to track portions.
- Line your pan even with silicone. Silicone muffin pans usually release fine on their own, but a thin liner still makes cleanup faster and protects the shape of each bite when you pop them out cold.
Substitutions and Variations
| Original | Swap | Notes |
|---|---|---|
| Almond flour | Crushed pecans | Adds crunch, still low carb |
| Heavy cream | Coconut cream | Good dairy-free option |
| Allulose | Monk fruit blend | Taste and adjust, sweetness varies |
| Vanilla extract | Almond extract | Use half the amount, it is stronger |
| Plain crust | Cocoa powder added to crust | 1 tbsp for a chocolate base |
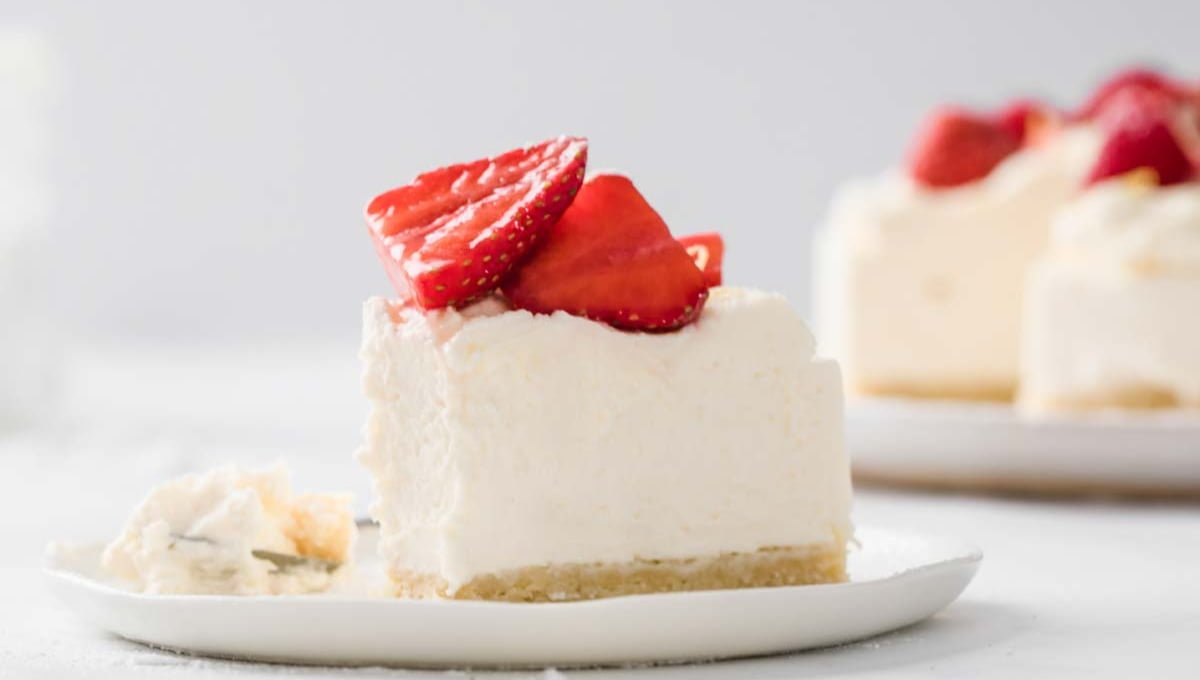
You can also fold in a tablespoon of unsweetened cocoa powder to the filling for a chocolate cheesecake bite, or top each one with a few fresh raspberries before freezing.
Make Ahead Tips
These are honestly better made ahead. I usually make a batch on Sunday and they last us through the week.
- Make the crust and filling up to two days in advance and store separately in the fridge.
- Fully assembled bites can sit in the freezer for up to a week before you need to move them to serving containers.
- Let them sit at room temperature for about 5 minutes before eating if they have been in the freezer, since they firm up quite a bit.
Read this also: This Low Carb Cheeseburger Skillet Tastes Like Cheating
Storage and Reheating
No reheating needed here, which is one of the reasons this recipe is so easy to keep around.
- Fridge: Store in an airtight container for up to 5 days.
- Freezer: Keep in a freezer-safe container with parchment between layers for up to 2 months.
- Thaw in the fridge for about an hour, or eat them slightly frozen if you like a firmer bite.
Nutritional Snapshot
Per bite, based on a batch of 12:
- Calories: approximately 165
- Net carbs: approximately 3g
- Protein: approximately 3g
- Fat: approximately 15g
Side Note: These numbers will shift depending on which sweetener you use, since some carry a few carbs per serving even in the sugar-free versions. Always check your specific brand if you are tracking closely.
If you are following a GLP-1 friendly eating plan, the protein and fat combination in these bites also helps them feel satisfying in a small portion, which matters a lot when appetite is already lower than usual.
Meal Pairings
These work well after a lighter dinner since they are rich enough to feel like a real treat.
- Pair with grilled chicken and a big salad for a low-carb dinner and dessert combo.
- Serve alongside coffee for an afternoon pick-me-up.
- Bring them to a gathering next to a fruit tray, since the tang balances out sweeter fruits like berries or melon.
- Add one on the side of a weekend brunch spread, next to eggs and bacon, for a small sweet bite without derailing the rest of the meal.
- Pack a couple in a lunch box next to a protein-heavy meal prep container for a midday treat that will not spike your blood sugar.
Instructions
- Make the crust. In a small bowl, mix almond flour, melted butter, cinnamon, and salt until it looks like wet sand.
- Press into liners. Divide the crust mixture evenly among 12 mini muffin liners, pressing firmly into the bottom of each.
- Freeze the crust. Place the pan in the freezer for 10 minutes while you make the filling.
- Beat the cream cheese. In a large bowl, beat softened cream cheese until smooth and creamy, about 2 minutes.
- Add the flavor. Mix in the sweetener, vanilla extract, and lemon juice until fully combined.
- Whip the cream separately. In another bowl, whip the heavy cream until soft peaks form.
- Fold together. Gently fold the whipped cream into the cream cheese mixture until smooth and airy.
- Fill the crusts. Spoon or pipe the filling over each crust, smoothing the tops with a spatula.
- Freeze to set. Freeze for at least 2 hours, or until firm.
- Serve. Pop out of the liners and enjoy straight from the freezer or after a short rest at room temperature.
FAQs Related to Cheesecake Bites
1. Can I make these without a mini muffin pan?
Yes, you can use a regular muffin tin with liners for a bigger portion, or press the crust into a small springform pan for one large sliceable cheesecake instead.
2. Why is my filling runny?
This usually means the cream cheese was too cold when you started, or the whipped cream was not whipped to stiff enough peaks before folding.
3. Can I use a sugar-free sweetener that is not powdered?
Granulated sweeteners can leave a slightly gritty texture in cold desserts like this one. If that is all you have, blend it in a food processor first to make a fine powder.
4. Are these keto friendly?
Yes, at around 3g net carbs per bite, these fit comfortably into most keto and low-carb eating plans.
5. How long do they actually take from start to finish?
Active prep is about 20 minutes. Freezer time is the only wait, and that is mostly hands off.
6. Can I make one big cheesecake instead of individual bites?
Yes. Press the crust into a springform pan, pour the filling over top, and freeze for at least 4 hours before slicing. You will just need to add a bit more time for it to set fully since it is a thicker layer.
7. Do I need to use a crust at all?
No, if you want to skip the crust entirely, you can spoon the filling into small cups and freeze it as a crustless cheesecake mousse. It is a good option if you are short on time or almond flour.
Conclusion
These cheesecake bites turned into one of those recipes I did not expect to make on repeat, but here we are. They solved the exact problem I had, which was wanting something sweet without the sugar crash that used to follow.
If you make a batch, come back and tell me how they turned out. I would love to know if you tried any of the flavor swaps, and if Silas-level portion control was a struggle for you too.
There is something satisfying about having a dessert in the freezer that you do not have to feel guilty about reaching for. These bites earned a permanent spot in our rotation, and I think they will earn one in yours too once you see how little effort they actually take.