
Silas came home from the gym last month and asked why our fridge never has “real snacks” in it. Just yogurt cups and sad baby carrots.
That comment stuck with me. I wanted something he could grab on his way out the door that actually kept him full until dinner.
These peanut butter protein balls were the answer. No oven, no fancy equipment, no waiting around. Just mix, roll, and chill.
They taste like a cookie dough bite but they’re packed with enough protein to actually count as a snack instead of a dessert in disguise. My kids think they’re getting away with something. They’re not. That’s the beauty of it.
If you’ve got five ingredients and fifteen minutes, you can make a batch that lasts you all week.
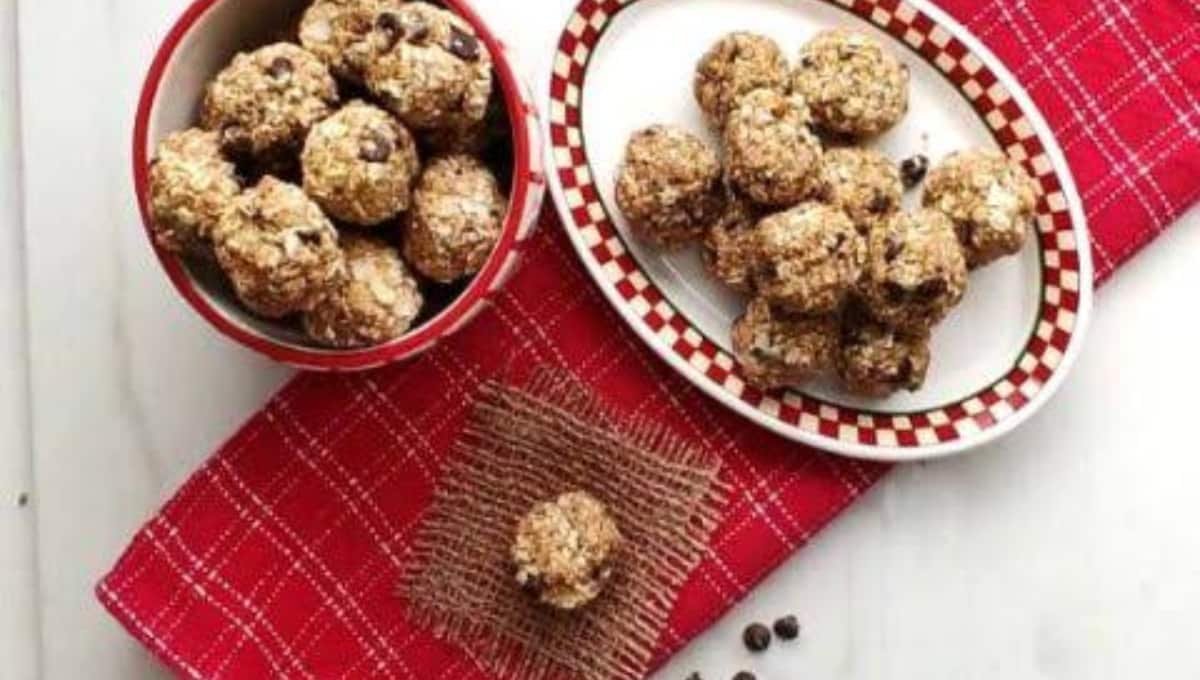
What surprised me most was how much these actually taste like dessert. There’s no weird chalky protein aftertaste hiding in the background. Just peanut butter, honey, and little pockets of melty chocolate in every bite.
I’ve made this recipe close to a dozen times now, tweaking little things along the way, so what you’re getting below is the version that’s earned a permanent spot on my weekly meal prep list.
What You’ll Need
Here’s everything that goes into one batch of about 16 protein balls.
| Ingredient | Amount |
|---|---|
| Old-fashioned rolled oats | 1 cup |
| Natural peanut butter | 1/2 cup |
| Honey | 1/3 cup |
| Vanilla protein powder | 1/2 cup |
| Mini chocolate chips | 1/3 cup |
| Ground flaxseed | 2 tablespoons |
| Chia seeds | 1 tablespoon |
| Pinch of salt | 1/4 teaspoon |
Natural peanut butter is the one ingredient I won’t budge on here. The kind with just peanuts and salt gives you the right texture. The overly processed stuff with added sugar and oil makes the mixture too runny to roll.
Read this aslo: Swedish Meatballs So Good You’ll Skip IKEA Forever
Tools You’ll Need
- Medium mixing bowl
- Measuring cups and spoons
- Rubber spatula or wooden spoon
- Small cookie scoop (or just your hands)
- Baking sheet lined with parchment paper
- Airtight storage container
That’s it. No mixer, no oven, no blender.
Pro Tips
1. Chill the mixture before rolling. If your dough feels too sticky to shape, pop the whole bowl in the fridge for 10 minutes first. It firms up the peanut butter and makes rolling way less messy.
2. Use a cookie scoop for even sizes. I learned this after my first batch turned into balls ranging from marble-sized to golf-ball-sized. A small scoop keeps everything consistent, which matters if you’re tracking protein per serving.
3. Toast your oats first for extra flavor. This step is optional, but a quick 5 minute toast in a dry pan brings out a nutty flavor that plain oats just don’t have. Side Note: Let them cool completely before mixing or you’ll melt your chocolate chips too early.
4. Wet your hands slightly when rolling. A little water on your palms keeps the mixture from sticking to your hands, especially if your peanut butter is on the drippier side.
5. Taste your protein powder before committing to a full batch. Not all vanilla protein powders taste the same. Some are chalky, some are sweet, some have a strong aftertaste. Mix a small spoonful with a splash of water first and taste it before you dump the whole scoop in.
I ruined an entire batch early on because I grabbed a protein powder that turned out to have an overpowering artificial sweetener taste once it was mixed with honey. Testing it first takes 30 seconds and saves you a wasted batch.
How to Make Peanut Butter Protein Balls
Step 1: Mix the wet ingredients. In your mixing bowl, stir together the peanut butter and honey until smooth. If your peanut butter was in the fridge, microwave it for 15 seconds first to loosen it up.
Step 2: Add the dry ingredients. Add the oats, protein powder, flaxseed, chia seeds, and salt. Stir everything together until it forms a thick, sticky dough. It should hold together when pressed between your fingers.
Step 3: Fold in the chocolate chips. Add the mini chocolate chips last so they don’t melt from any residual warmth in the mixture.
Step 4: Chill if needed. If the dough feels too soft to roll, refrigerate it for 10 to 15 minutes.
Step 5: Roll into balls. Using your cookie scoop, portion out the dough and roll each piece between your palms into a ball about 1 inch wide. Place each one on your lined baking sheet.
Step 6: Refrigerate to set. Chill the tray for at least 30 minutes before eating. This helps them firm up and hold their shape.
Step 7: Store and enjoy. Once set, transfer them into your airtight container and keep them in the fridge.
Read this also: Creamy Ramen So Good It Tastes Like a Restaurant Splurge
Substitutions and Variations
Not every kitchen is stocked the same way, so here’s how you can adjust this recipe.
| Original | Substitute | Notes |
|---|---|---|
| Peanut butter | Almond butter or sunflower seed butter | Good for peanut allergies |
| Honey | Maple syrup or agave | Keeps it vegan friendly |
| Vanilla protein powder | Chocolate protein powder | Adds a richer flavor |
| Mini chocolate chips | Raisins or dried cranberries | Cuts down on added sugar |
| Rolled oats | Quick oats | Slightly softer texture |
| Chia seeds | Extra flaxseed | If you don’t have chia on hand |
Want them extra chocolatey? Add a tablespoon of cocoa powder to the dry mix.
Need them nut-free? Sunflower seed butter works great, just know the mixture might turn slightly green over time due to a harmless reaction between the seeds and baking soda in some brands. It doesn’t affect taste at all.
Make Ahead Tips
These are basically made for meal prep.
You can mix the dough up to 2 days ahead of time and store it covered in the fridge before rolling. This actually makes rolling even easier since the dough firms up more the longer it sits.
You can also roll the full batch and freeze half of it right away if you know you won’t get through 16 balls in a week.
Side Note: If you’re short on time, skip the toasting step for the oats entirely. It adds flavor but it’s not required, and leaving it out cuts your prep time down to about 10 minutes total.
For faster cleanup, line your bowl with the dry ingredients first before adding the peanut butter and honey. It keeps the sticky mixture from coating the sides of the bowl as much, which makes washing up afterward much quicker.
Storage and Reheating
Refrigerator: Store in an airtight container for up to 1 week.
Freezer: These freeze beautifully. Lay them flat on a baking sheet to freeze individually first, then transfer to a freezer bag. They’ll keep for up to 3 months.
Thawing: Pull a few out and let them sit at room temperature for about 10 minutes, or eat them straight from frozen if you like a firmer bite.
No reheating needed here. These are meant to be eaten cold or at room temperature.
Nutritional Snapshot
Per ball, based on a batch of 16:
| Nutrient | Amount |
|---|---|
| Calories | 110 |
| Protein | 5g |
| Carbohydrates | 10g |
| Fat | 6g |
| Fiber | 2g |
| Sugar | 5g |
Side Note: These numbers will shift depending on which brand of peanut butter and protein powder you use, so treat this as a general guide rather than an exact figure.
Meal Pairings
These protein balls work well alongside:
- A cup of black coffee or protein shake for breakfast on the go
- Sliced apples or a banana for a balanced afternoon snack
- A handful of berries if you want something lighter to pair it with
- Greek yogurt for an extra protein boost after a workout
I personally keep a bag of these in my gym bag alongside a banana. It’s an easy combo that doesn’t need refrigeration for a couple hours, which makes it perfect for busy mornings when packing an actual meal just isn’t happening.
FAQs Related to protein balls
1. Can I make these without protein powder?
Yes. Swap the protein powder for an extra 1/2 cup of oats and reduce the honey slightly since you’ll lose some of the natural sweetness that protein powder adds.
2. Why is my dough too dry?
This usually happens if your peanut butter was on the thicker side. Add a teaspoon of honey or a splash of milk at a time until the dough comes together.
3. Why is my dough too wet?
Add a tablespoon of oats at a time until it firms up. Chilling the dough for 10 minutes also helps a lot.
4. Are these kid friendly?
Very much so. My kids ask for these over store bought granola bars now, and I don’t mind since I know exactly what’s in them.
5. Can I add other mix-ins?
Absolutely. Shredded coconut, chopped nuts, or crushed pretzels all work great folded into the dough.
6. How long do these actually keep me full?
Between the protein, fiber, and healthy fats, most people find these hold them over for 2 to 3 hours, which makes them a solid pre or post workout snack.
Conclusion
This is one of those recipes that earns a permanent spot in your fridge once you make it once.
It’s quick enough for a Sunday meal prep session and forgiving enough that you can swap ingredients based on whatever you already have open in your pantry.
Silas grabs three of these before every gym session now, and I’m just relieved our fridge finally has something worth grabbing.
If you make these, drop a comment below and let me know how they turned out, or if you tried any fun mix-ins of your own. I’d love to hear about it.