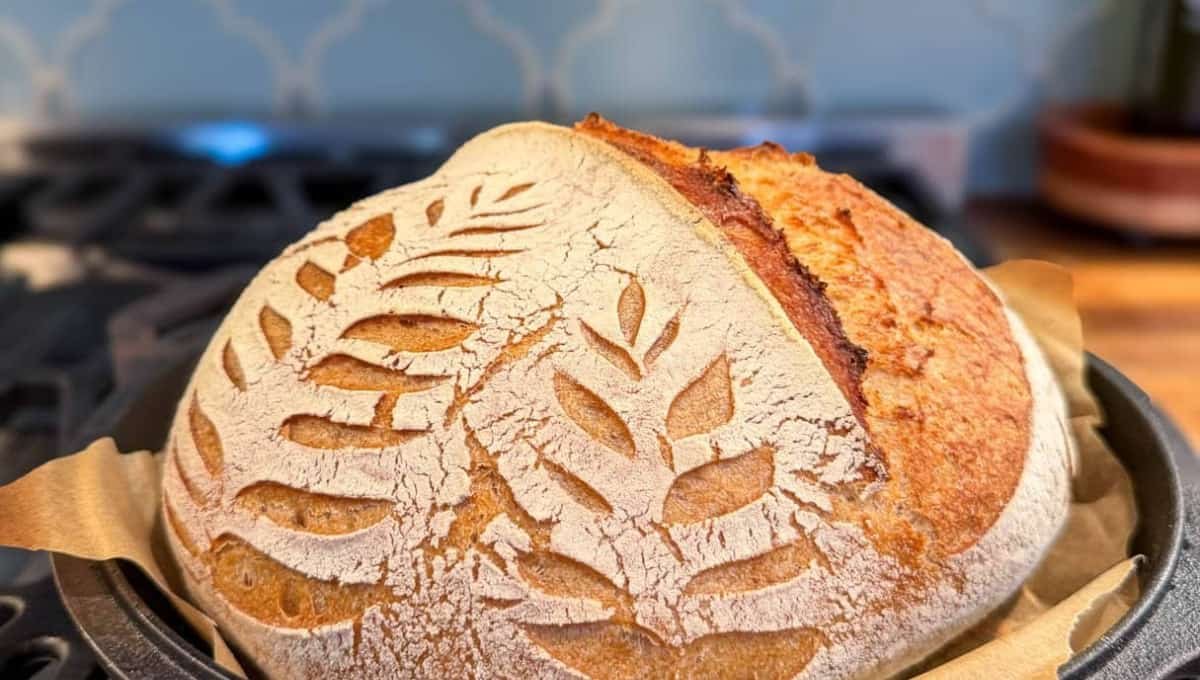
Sourdough Bread: I killed my first sourdough starter twice before I got a single loaf out of it. Not because sourdough is hard. It’s not. But because every recipe I found online made it sound hard, with 14-step timelines and words like “autolyse” thrown around like everyone just knows what that means.
So I’m doing this differently. This is the loaf I make on a random Tuesday, in a kitchen that’s usually too cold, with a starter I sometimes forget to feed for a week.
It still works. Every time.
Side Note: If you don’t have a starter yet, you’ll need one going before this recipe works. That’s a whole different post, but a quick search for “how to make a sourdough starter from scratch” will get you there in about a week.
What You’ll Need
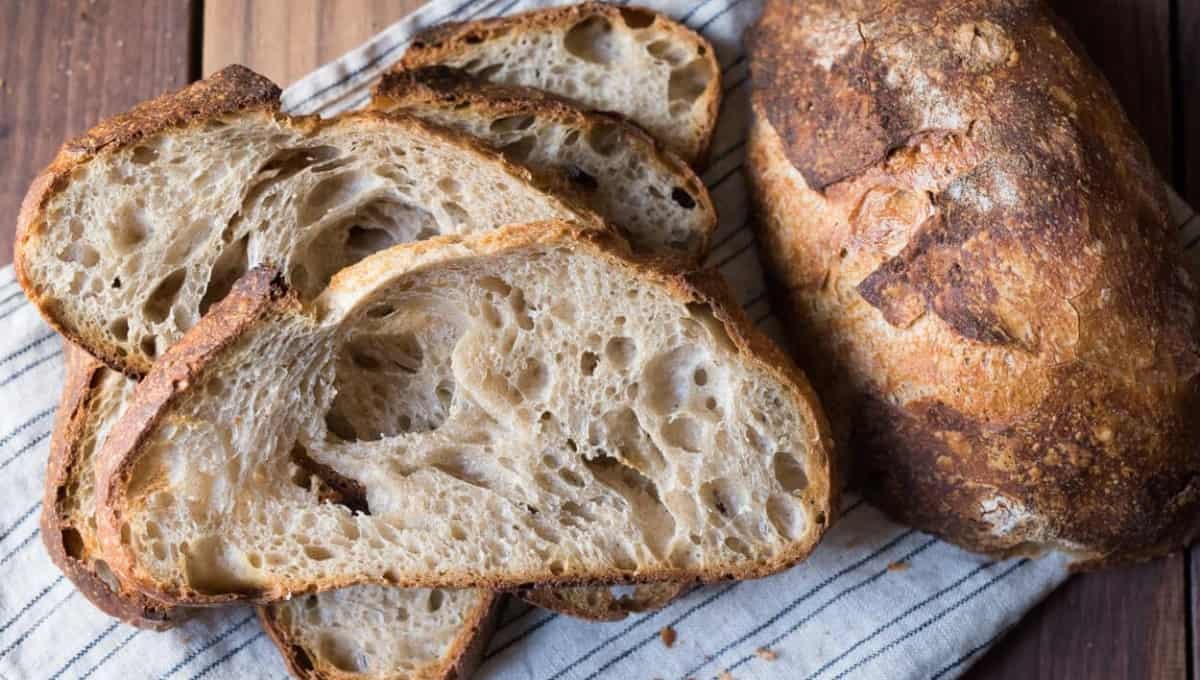
Here’s everything that goes into the dough itself. Nothing exotic, I promise.
| Ingredient | Amount |
|---|---|
| Active, bubbly sourdough starter | 100g (about ½ cup) |
| Warm water | 350g (about 1½ cups) |
| Bread flour | 500g (about 4 cups) |
| Fine sea salt | 10g (about 2 tsp) |
| Rice flour or extra bread flour (for dusting) | A handful |
That’s it. Five ingredients, and one of them is water.
Tools You’ll Need
- A large mixing bowl
- A kitchen scale (this one actually matters, more on that below)
- A bench scraper or a flat spatula
- A banneton or a bowl lined with a floured towel
- A Dutch oven with a lid
- Parchment paper
- A sharp razor blade or a very sharp knife
Pro Tips Before You Start
1. Weigh everything. Cups lie. Flour packs down differently depending on how you scoop it, and sourdough is sensitive enough that a few grams off can mean a dense, sad loaf. A $12 kitchen scale will change your bread life.
2. Your starter needs to pass the float test. Drop a spoonful in a glass of water. If it floats, it’s ready. If it sinks, give it another feeding and a few more hours.
3. Room temperature changes everything. My dough rises in about 5 hours in summer and closer to 9 in winter. Don’t trust the clock. Trust how the dough looks and feels.
4. Don’t skip the cold proof. Sticking your shaped dough in the fridge overnight isn’t optional if you want that classic tangy flavor and easy-to-score crust. It’s genuinely the step that makes this taste like “real” sourdough.
5. Preheat your Dutch oven like you mean it. A cold or half-warm pot is the number one reason people end up with pale, flat loaves.
Read this also: The Zucchini Bread Recipe That Made Me a Convert (Even My Picky Husband Asked for Seconds)
How to Make It
Step 1: Mix the Dough
In your large bowl, combine the starter and warm water. Give it a quick stir until the starter mostly dissolves.
Add the flour and salt. Mix with your hands or a spatula until there’s no dry flour left. It’ll look shaggy and a little ugly. That’s fine. Cover the bowl and let it rest for 30 minutes.
Step 2: Stretch and Fold
Wet your hand slightly, grab one side of the dough, stretch it up, and fold it over itself. Turn the bowl a quarter turn and repeat, four times total. Do this every 30 minutes for the first 2 hours. It builds strength in the dough without any real kneading.
Step 3: Bulk Ferment
After your last fold, cover the bowl and let it sit somewhere warm. You’re waiting for the dough to grow by about 50%, get jiggly, and show some bubbles on the surface. This is the step that takes 5 to 9 hours depending on your kitchen.
Step 4: Shape the Loaf
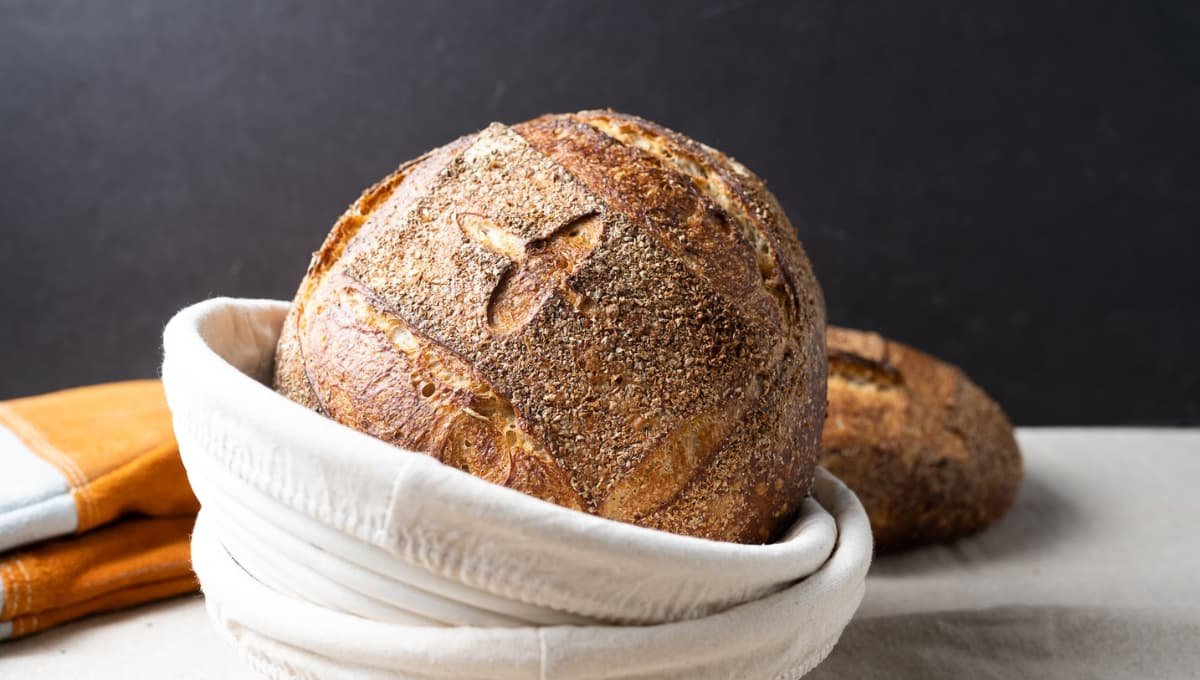
Turn the dough out onto a lightly floured counter. Shape it into a round by pulling the edges into the center, then flip it seam-side down and drag it toward you a few times to build tension on top. Place it seam-side up into your floured banneton.
Step 5: Cold Proof Overnight
Cover the banneton and pop it in the fridge for 12 to 16 hours. This step is where the flavor deepens and the dough firms up enough to score cleanly.
Step 6: Bake
Preheat your oven to 500°F with the Dutch oven inside, for a full 45 minutes. Turn the dough out onto parchment paper, score the top with your blade, and carefully lower it into the hot pot.
Bake covered for 20 minutes, then uncover and bake another 20 to 25 minutes until deeply golden. Let it cool for at least an hour before slicing. I know that part is brutal.
Substitutions and Variations
- Whole wheat swap: Replace up to 25% of the bread flour with whole wheat for a heartier loaf. You may need a splash more water.
- Add-ins: Fold in olives, rosemary, or shredded cheese right before shaping.
- No Dutch oven? A covered cast iron skillet or even a baking sheet with a metal bowl over the dough works in a pinch.
- Gluten-free: Honestly, this recipe won’t translate well. Sourdough relies heavily on gluten development, so a dedicated gluten-free sourdough recipe is a better bet here.
Make Ahead Tips
You can stretch this recipe across two days pretty naturally, since the cold proof already builds in an overnight rest If you want to go even further ahead, you can bake the loaf, let it cool completely, and freeze it whole for up to 3 months.
Read this also: Overnight Oats: The Breakfast I Wish I’d Discovered Years Ago
A Few Extra Details
Nutritional ballpark (per slice, based on 12 slices): around 140 calories, 1g fat, 28g carbs, 5g protein. This will shift depending on your flour.
Pairing ideas: This loaf is sturdy enough for a thick slather of butter, but it also holds up beautifully under soup, a fried egg, or a simple olive oil and balsamic dip.
Time efficiency tip: The active time here is maybe 20 minutes total. Everything else is the dough doing its own thing while you live your life.
Leftovers and Storage
Sourdough is happiest at room temperature, cut-side down on the counter, for up to 3 days.
Skip the fridge. It actually speeds up staling.
For anything longer, slice it first and freeze the slices in a freezer bag. Pop them straight in the toaster whenever you want fresh-tasting bread again.
FAQ Related to Sourdough Bread
1. Why is my dough so sticky I can’t work with it?
High-hydration dough like this one is naturally tacky. Wet hands instead of adding more flour, and it’ll get easier to handle as the gluten develops.
2. My loaf turned out flat. What happened?
Usually it’s an underdeveloped starter, an over-proofed dough, or a Dutch oven that wasn’t hot enough. Start by checking your starter with the float test.
3. Do I need a stand mixer?
No. The stretch and fold method does all the work by hand.
4. Can I use all-purpose flour instead of bread flour?
You can, though the loaf will be a touch less chewy since bread flour has more protein. It still works.
5. How do I know when the bulk ferment is done?
Look for a dough that’s noticeably puffier, jiggles when you shake the bowl, and has small bubbles visible along the sides.
Wrapping Up
That first loaf that actually worked for me still sits in my memory as one of those small, weirdly emotional wins. There’s a learning curve, but it’s shorter than it looks from the outside. Give yourself permission for the first loaf to be a little wonky.
If you try this recipe, I’d genuinely love to hear how it went. Drop a comment below with your results, or any questions if you get stuck along the way.