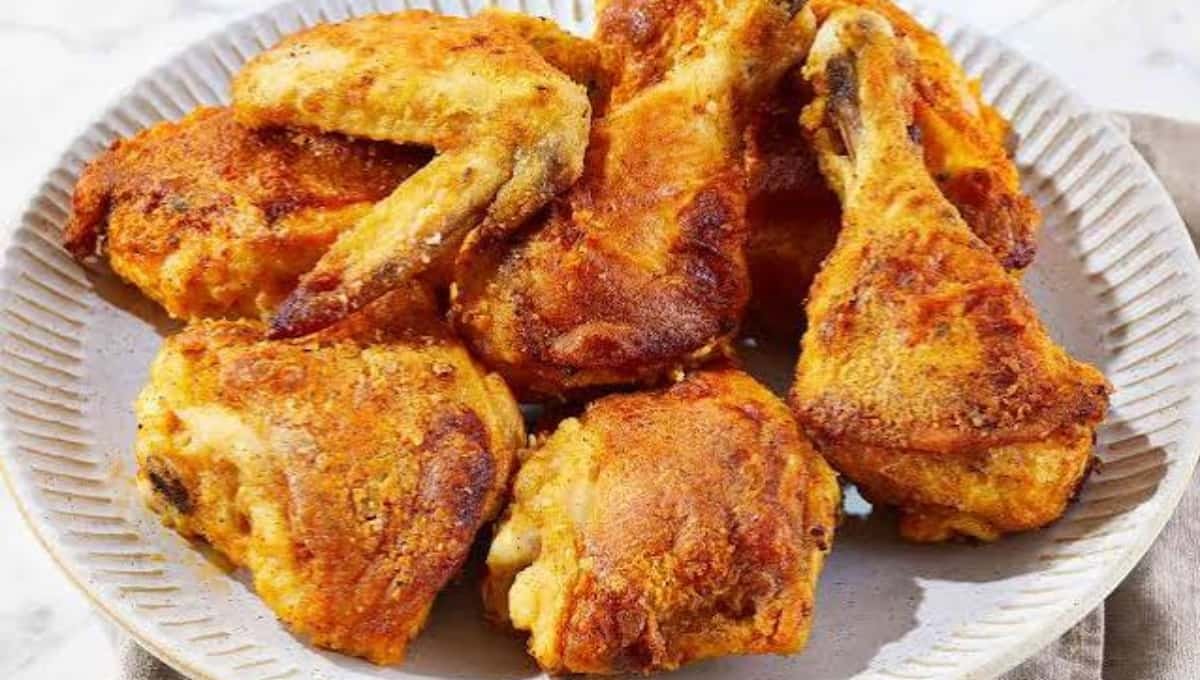
The little box of coating mix in your pantry has been fooling you for years. The real thing takes five minutes and uses spices you already own.
Silas and I were staying in a rental kitchen last winter with exactly one baking sheet and zero patience. He grabbed a box of shake and bake from the store, and we both stared at the ingredient list on the back.
It was breadcrumbs, salt, and spices. That’s it. So I tossed the box and made my own that night.
The chicken came out crunchier than anything I’d ever pulled from a box. Silas ate three pieces before I even sat down.
Today I’m sharing the exact homemade shake and bake recipe I now make on repeat, plus a few mistakes I made so you can skip them.
Why This Homemade Shake and Bake Works
A good coating needs three things: something to stick, something to crisp, and something to taste like more than salt.
This one covers all three.
- Crisp without frying: A hot oven and a little oil do the job of a deep fryer.
- Real flavor: Paprika, garlic, onion, and thyme give it that savory, slightly smoky taste.
- One bag, no mess: You shake everything in a zip bag, so your counters stay clean.
- Cheap: Most of this lives in your pantry already.
Side Note: Shake and bake has been a boxed dinner shortcut since the 1960s. The homemade version is just the same idea with fewer mystery ingredients.
What You’ll Need
This makes 6 servings. Here’s everything on your list.
| Ingredient | Amount |
|---|---|
| Bone-in, skin-on chicken thighs or drumsticks | 6 pieces (about 2.5 pounds) |
| Plain dry breadcrumbs | 1 1/2 cups |
| All-purpose flour | 1/4 cup |
| Paprika | 1 tablespoon |
| Garlic powder | 1 teaspoon |
| Onion powder | 1 teaspoon |
| Dried thyme | 1/2 teaspoon |
| Fine salt | 1 teaspoon |
| Black pepper | 1/2 teaspoon |
| Granulated sugar | 1 teaspoon |
| Cayenne pepper (optional) | 1/4 teaspoon |
| Olive oil or melted butter | 3 tablespoons |
That teaspoon of sugar looks odd, I know. It helps the crust brown deep golden instead of pale and sad.
Read this also: Mississippi Chicken: Only 10 Minutes of Real Work
Tools You’ll Need
- Large zip-top bag (gallon size)
- Rimmed baking sheet
- Wire cooling rack that fits inside the baking sheet
- Parchment paper or foil
- Pastry brush
- Measuring cups and spoons
- Paper towels
- Instant-read meat thermometer
The wire rack is the secret to a crust that’s crisp on every side. More on that in a second.
Pro Tips for First-Timers
- Pat the chicken dry. Wet skin turns the coating gummy. Use paper towels until the surface feels tacky, not slick.
- Bake on a wire rack. Air flows under the chicken, so the bottom crisps instead of steaming in its own juices. I skipped this once and ended up with a soggy underside.
- Shake one piece at a time. Crowding the bag leaves bare patches. One piece, one good shake, done.
- Don’t flip too early. The coating needs time to set. Flip once at the halfway mark, and only if it lifts easily.
- Trust the thermometer. Chicken is safe at 165°F in the thickest part. Color alone can fool you.
How to Make Homemade Shake and Bake
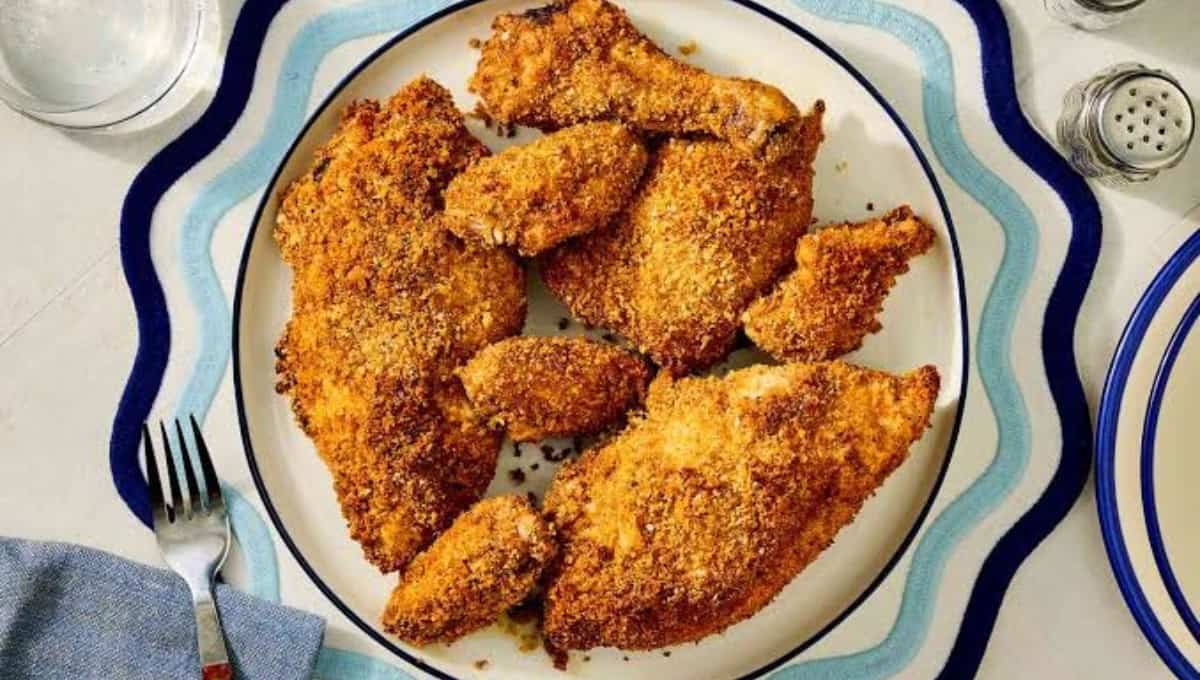
Step 1: Heat the Oven
Set your oven to 425°F. Line the baking sheet with parchment or foil, then set the wire rack on top.
Brush the rack lightly with oil so nothing sticks.
Step 2: Mix the Coating
Add the breadcrumbs, flour, paprika, garlic powder, onion powder, thyme, salt, pepper, sugar, and cayenne to the zip bag.
Seal it and shake hard for about 10 seconds. The color should look even and a little orange.
Step 3: Dry and Oil the Chicken
Pat every piece dry with paper towels.
Brush each one with a thin layer of olive oil or melted butter. This is your glue, and it also helps the crumbs turn golden.
Step 4: Shake It
Drop one piece into the bag, seal it, and shake until it’s fully covered.
Press the crumbs on with your hand if any spots look thin. Set the piece on the rack, skin side up.
Repeat with the rest, leaving a little space between pieces.
Step 5: Add a Finishing Drizzle
Drizzle the last bit of oil or butter over the tops. Just a light pass.
This step is what gives you those crunchy, bubbly edges everyone fights over.
Step 6: Bake
Slide the pan into the middle of the oven. Bake bone-in pieces for 40 to 45 minutes.
Check the temperature near the bone. When it reads 165°F, you’re done.
Step 7: Rest
Let the chicken sit for 5 minutes before serving. The juices settle back in, and the crust firms up even more.
Cooking Times by Cut
Not everyone buys bone-in chicken. Here’s how the time shifts at 425°F.
| Chicken Cut | Bake Time | Safe Temp |
|---|---|---|
| Bone-in thighs or drumsticks | 40 to 45 minutes | 165°F |
| Boneless chicken breasts (pounded even) | 20 to 25 minutes | 165°F |
| Boneless thighs | 25 to 30 minutes | 165°F |
| Chicken tenders | 15 to 18 minutes | 165°F |
Pound thick breasts to an even thickness first. It’s the easiest way to avoid dry chicken.
Read this also: Teriyaki Chicken Ready in 25 Minutes
Substitutions and Variations
Out of something? You can still make this tonight.
| Swap | What to Use | Result |
|---|---|---|
| Breadcrumbs | Panko | Crunchier, more jagged crust |
| Breadcrumbs | Crushed cornflakes | Extra crunch, slightly sweet |
| Gluten-free | Gluten-free breadcrumbs and cornstarch instead of flour | Works well, crust is a bit lighter |
| Butter | Olive oil or avocado oil | Cleaner taste, still crisp |
| Chicken | Pork chops (bone-in, about 1 inch thick) | Bake about 20 to 25 minutes to 145°F |
Flavor Twists Worth Trying
- Parmesan version: Stir in 1/3 cup grated parmesan and swap thyme for Italian seasoning.
- Smoky BBQ: Add 1 teaspoon smoked paprika and 1 teaspoon brown sugar.
- Lemon pepper: Skip the paprika, add 2 teaspoons lemon pepper.
- Spicy kick: Double the cayenne and add a pinch of chili powder.
Mistakes That Ruin the Crust
I’ve made all of these, so no judgment here.
- Crowding the pan: Pieces that touch trap steam, and steam kills crunch. Give each one room.
- Skipping the preheat: A cold oven means a slow start and a softer crust.
- Using wet breadcrumbs: Keep the mix dry until it hits the chicken.
- Cutting in right away: Slice too soon and the juices run out onto the plate.
Fix these four and your chicken will taste like it came from a much fancier kitchen.
Make Ahead Tips
The coating mix keeps beautifully. Make a double or triple batch and store it in a sealed jar for up to 3 months in a cool, dry pantry.
Then on a busy night, you only have to oil the chicken and shake. Dinner is in the oven in under five minutes.
You can also coat the chicken up to 2 hours ahead and keep it in the fridge on the wire rack. Any longer and the crumbs start soaking up moisture.
Leftovers and Storage
- Fridge: Store cooled chicken in an airtight container for up to 3 to 4 days.
- Freezer: Wrap pieces individually and freeze for up to 2 months.
- Reheat: Use a 375°F oven for 15 to 20 minutes, or an air fryer at 350°F for 8 to 10 minutes.
Skip the microwave if you can. It turns that crispy crust soft in about 30 seconds.
Nutrition Snapshot
These are rough estimates for one bone-in thigh or drumstick piece with coating. Your numbers will shift with the brand and cut you buy.
| Per Serving (Approx.) | Amount |
|---|---|
| Calories | 380 to 420 |
| Protein | 26 to 30 g |
| Carbs | 16 to 18 g |
| Fat | 22 to 26 g |
Want it lighter? Remove the skin before coating and use boneless, skinless pieces. Your calories drop, and the crust still holds up.
What to Serve With Shake and Bake
This chicken is a team player. A few pairings that always work:
- Creamy mashed potatoes with gravy
- Roasted green beans or broccoli
- Mac and cheese for a full comfort plate
- Coleslaw for a cool, crunchy contrast
- Honey mustard or ranch for dipping
Time saver: Roast your veggies on a second pan in the same oven. Same temperature, same dinner window.
FAQs Related to Homemade Shake and Bake
1. Is homemade shake and bake healthier than the boxed kind?
Usually, yes. You control the salt, skip preservatives, and know exactly what’s in it. The calories depend mostly on the chicken cut and how much oil you use.
2. Why is my coating falling off?
Most often the chicken was too wet, or it moved around too much on the pan. Pat it dry, press the crumbs on firmly, and leave it alone until the halfway flip.
3. Can I make shake and bake in an air fryer?
Yes. Cook at 380°F for about 20 to 25 minutes for bone-in pieces, flipping once. Work in batches so air can move around each piece.
4. Do I need to add oil or butter?
Yes, a little. Without it, the breadcrumbs stay dry and pale instead of turning golden and crisp.
5. What temperature should chicken reach?
The safe internal temperature for chicken is 165°F. Check the thickest part, away from the bone.
6. Can I use egg instead of oil?
You can. Dip the chicken in beaten egg, then shake it in the bag. It makes a thicker crust, but it adds one more messy step.
Conclusion
Homemade shake and bake is one of those recipes that feels almost too easy once you try it. Five minutes of prep, one bag, and a crust that crunches loud enough to turn heads at the table.
Make a big jar of the coating this weekend and you’ll thank yourself on a hectic Wednesday.
If you try it, leave a comment below and tell me how it turned out. Did you go classic, or try a parmesan or BBQ twist? And if anything didn’t go as planned, ask away and I’ll help you fix it.