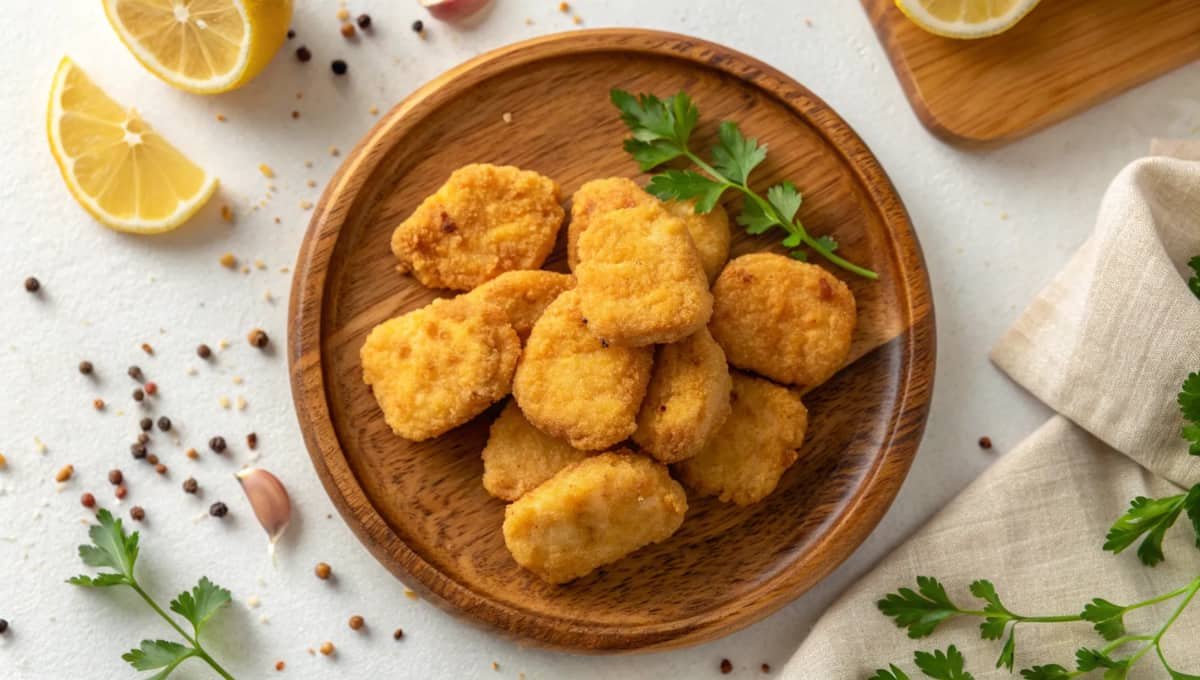
Silas ate eleven of these in one sitting last Tuesday. Eleven. I counted because I was genuinely worried about him for a second, then I ate four more myself and stopped judging.
That’s the thing about homemade chicken nuggets. You make a batch thinking you’re being responsible, cooking a “kid food” from scratch, and then somehow the adults in the house have wiped out half the tray before dinner even starts.
Side Note: Silas insists these taste “like the good ones from when I was little,” which is either a huge compliment or proof that his memory is doing some heavy lifting. Either way, I’ll take it.
These nuggets are crispy on the outside, juicy in the middle, and made with ingredients you can actually pronounce. No mystery meat, no weird texture, no questionable oil situation. Just real chicken, a proper seasoned coating, and a fry (or bake, your call) that gets them golden and crunchy.
Once you make these yourself, the frozen bag in the freezer aisle starts looking pretty sad in comparison.
I used to think homemade nuggets would be a whole production, something reserved for weekends when I actually had energy to spare. Turns out the whole process, from cutting the chicken to pulling golden pieces out of the pan, takes about 40 minutes. That includes the marinating time doing its own thing in the fridge while I clean up the kitchen.
Why Homemade Actually Wins Here
Store-bought nuggets are convenient, no argument there. But the ingredient list on most bags reads like a chemistry assignment, and the texture is usually more “processed” than “chicken.”
Making them yourself means you control exactly what goes in. Real chicken breast, a seasoned flour coating, and a crunchy panko exterior that actually tastes like something.
Side Note: The first time I made these, I doubled the recipe assuming we’d have leftovers for the week. We did not have leftovers. We had a very happy family and an empty tray.
Read this also: The Secret Cincinnati Skyline Chili Recipe Everyone’s Obsessed With
What You’ll Need
For the Chicken
| Ingredient | Amount |
|---|---|
| Boneless, skinless chicken breast | 1.5 lbs, cut into nugget-sized pieces |
| Buttermilk | 1 cup |
| Kosher salt | 1 tsp |
| Garlic powder | 1 tsp |
| Black pepper | 1/2 tsp |
For the Coating
| Ingredient | Amount |
|---|---|
| All-purpose flour | 1 cup |
| Cornstarch | 1/4 cup |
| Panko breadcrumbs | 1 cup |
| Paprika | 1 tsp |
| Garlic powder | 1 tsp |
| Onion powder | 1/2 tsp |
| Kosher salt | 1 tsp |
| Black pepper | 1/2 tsp |
| Eggs | 2, beaten |
| Neutral oil (for frying) | Enough for 1 inch in the pan |
That’s the full lineup. Nothing exotic, nothing you have to order online.
Tools You’ll Need
- Sharp knife and cutting board
- Two or three shallow bowls or dishes for dredging
- A large skillet or Dutch oven if frying, or a sheet pan if baking
- Meat thermometer
- Wire rack (this one actually matters, I’ll explain below)
- Tongs
Pro Tips
1. Don’t skip the buttermilk soak. Even thirty minutes makes the chicken noticeably more tender. If you’ve got an hour, use it. Overnight is even better.
2. Pat the chicken dry before dredging. Straight out of the buttermilk, the pieces are dripping, and that extra moisture makes your coating slide right off in the pan. A quick pat with paper towels fixes this.
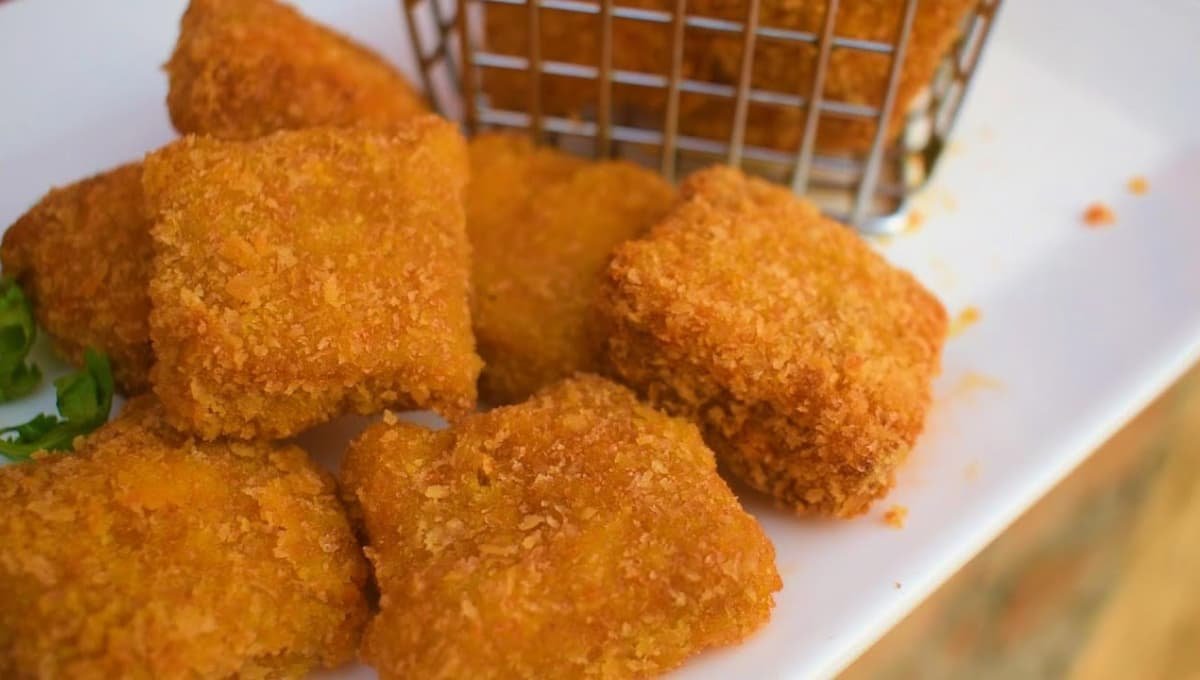
3. Double dip for max crunch. Flour, then egg, then panko, then back through the egg and panko one more time. It sounds excessive. It is not excessive. This is the difference between “coated” and “crusted.”
4. Use a wire rack, not a paper towel, to drain. Paper towels trap steam underneath the nuggets and the bottoms go soggy within minutes. A wire rack over a baking sheet keeps every side crisp.
5. Fry in batches. Overcrowding the pan drops the oil temperature fast, and you end up with greasy, pale nuggets instead of golden ones. Give them room.
6. Check the oil temperature before you start frying. If you don’t have a thermometer, drop a pinch of flour into the oil. If it sizzles right away and floats up, you’re good to go. Too cool, and the coating soaks up oil instead of crisping.
Read this also: This Greek Chicken Bowl Fixes Your Boring Dinner Rut
How to Make Homemade Chicken Nuggets
Step 1: Marinate the Chicken
Cut the chicken breast into bite-sized nugget pieces, roughly 1 to 1.5 inches. Toss them into a bowl with the buttermilk, salt, garlic powder, and pepper. Cover and refrigerate for at least 30 minutes, up to overnight.
Step 2: Set Up Your Dredging Station
In one shallow dish, whisk together the flour, cornstarch, paprika, garlic powder, onion powder, salt, and pepper. In a second dish, beat the eggs. In a third dish, add the panko breadcrumbs.
Step 3: Coat the Chicken
Remove chicken pieces from the buttermilk and pat dry. Dredge each piece in the flour mixture, then the egg, then the panko. For extra crunch, repeat the egg and panko step once more.
Step 4: Fry Until Golden
Heat about 1 inch of oil in a skillet to 350°F. Fry the nuggets in batches for 3 to 4 minutes per side, until golden brown and the internal temperature hits 165°F. Transfer to a wire rack to drain.
Step 5: Baking Option
Preheat oven to 425°F. Arrange coated nuggets on a wire rack set over a baking sheet, spray lightly with oil, and bake for 18 to 20 minutes, flipping halfway, until golden and cooked through.
Step 6: Serve Immediately
Let them rest for a minute or two, then serve hot with your dipping sauce of choice.
Substitutions and Variations
| Original | Swap | Notes |
|---|---|---|
| Chicken breast | Chicken thighs | Juicier, slightly richer flavor |
| Buttermilk | Milk + 1 tbsp lemon juice | Works as a decent stand-in |
| Panko | Regular breadcrumbs | Less crunchy but still works |
| Frying | Air fryer | 400°F for 10 to 12 minutes, flipping halfway |
| All-purpose flour | Gluten-free flour blend | Keep cornstarch the same |
Want a spicy version? Add cayenne to the flour mixture. Want a herby version? Stir dried oregano and Italian seasoning into the panko. This recipe takes seasoning changes really well.
Make-Ahead Tips
You can bread the nuggets up to a day ahead and store them uncooked on a tray in the fridge, covered. This actually helps the coating stick even better when you fry them.
You can also freeze the uncooked, breaded nuggets in a single layer on a tray, then transfer to a freezer bag once solid. Fry or bake straight from frozen, adding a couple extra minutes to the cook time.
Storage and Reheating
Cooked nuggets keep in the fridge for 3 to 4 days in an airtight container. To reheat and keep them crispy, skip the microwave. Use the oven at 400°F for about 8 minutes, or an air fryer at 375°F for 5 minutes. Both bring the crunch right back.
They also freeze well after cooking. Reheat straight from frozen in the oven or air fryer, just add a few extra minutes.
Nutritional Snapshot
Per serving (roughly 5 to 6 nuggets), estimated:
| Nutrient | Amount |
|---|---|
| Calories | ~290 |
| Protein | 24g |
| Carbohydrates | 18g |
| Fat | 12g |
These numbers will shift depending on whether you fry or bake, and what dipping sauce you’re pairing them with.
Meal Pairing Suggestions
- Sweet potato fries and a simple slaw
- Steamed broccoli with a squeeze of lemon
- A quick cucumber salad for something cool and crunchy alongside
- Honey mustard, ranch, or a spicy mayo for dipping
FAQs Related to
1. Can I use chicken tenders instead of chicken breast?
Yes. Just cut them into smaller pieces so they cook evenly.
2. Why is my coating falling off?
Usually it’s excess moisture. Pat the chicken dry before dredging, and don’t skip the flour step before the egg wash.
3. Can I make these dairy-free?
Yes, swap the buttermilk for a dairy-free milk with a splash of lemon juice or vinegar.
4. What oil is best for frying?
A neutral, high-smoke-point oil like vegetable, canola, or avocado oil works best.
5. Can kids help make these?
The dredging station is honestly a great job for kids, as long as someone else handles the hot oil.
6. How do I keep the nuggets from getting greasy?
Keep the oil at a steady 350°F and don’t overcrowd the pan. If the oil temperature drops too low, the nuggets absorb more oil instead of crisping up.
7. Can I make a bigger batch for meal prep?
Yes, this recipe doubles or triples easily. Just fry in smaller batches so the oil temperature stays consistent, and freeze whatever you don’t plan to eat within a few days.
Conclusion
Once you’ve made your own chicken nuggets, going back to the frozen bag feels like a downgrade. These are crispy, juicy, and genuinely simple once you’ve got the dredging station set up.
They disappear fast, so don’t be surprised if you’re already planning your next batch before this one’s even finished cooling on the rack.
Make a batch this week and let me know how it goes in the comments. I want to hear whether Team Fry or Team Bake wins in your house, and whether your kids demolish them as fast as mine did.