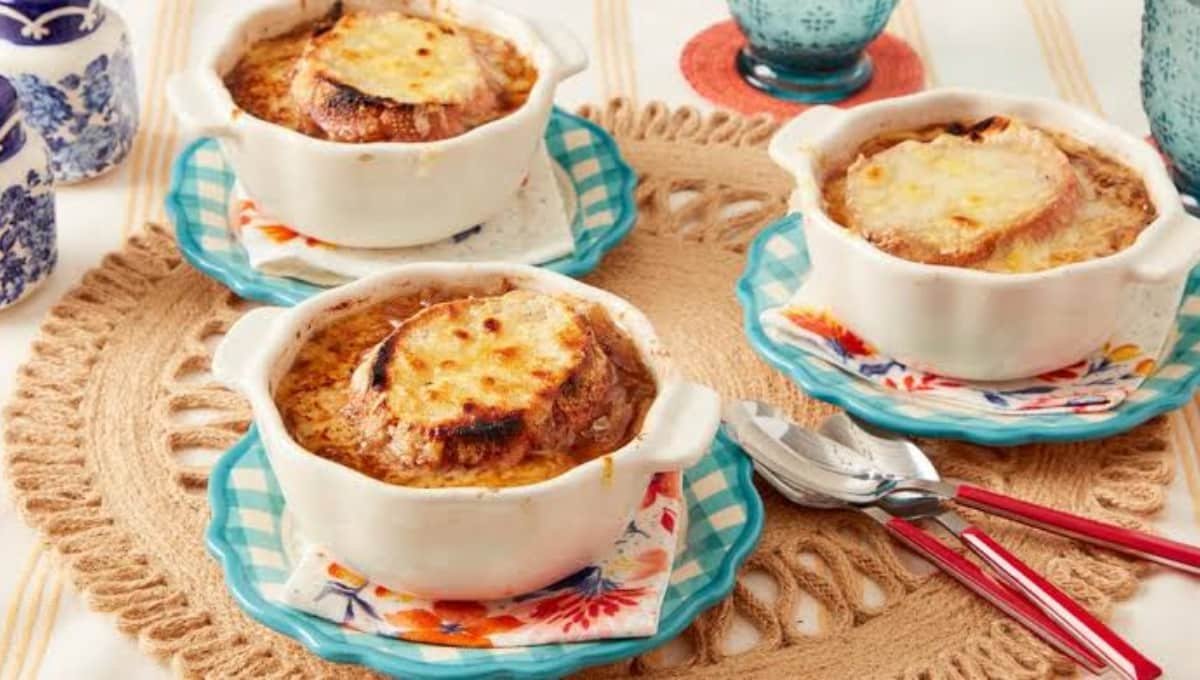
French Onion Soup Recipe: I used to think French onion soup was one of those things you only order at a fancy little bistro with candlelight and a waiter who judges your wine choice.
Turns out it’s just onions, broth, and cheese. That’s it. And once you know the one trick that makes it taste like it took all day (even though most of that time is hands-off), you’ll never pay $14 for a bowl of it again.
This recipe has been my go-to on cold nights for years. It’s rich, it’s cozy, and honestly, it makes your whole kitchen smell like something worth bragging about.
Let’s get into it.
What You’ll Need
Here’s everything you’ll need to pull this off:
- 4 large yellow onions, thinly sliced
- 4 tablespoons unsalted butter
- 1 tablespoon olive oil
- 1 teaspoon sugar
- 1 teaspoon salt
- 2 cloves garlic, minced
- ½ cup dry white wine (or sherry)
- 6 cups beef broth (or a mix of beef and chicken)
- 2 sprigs fresh thyme (or ½ teaspoon dried)
- 1 bay leaf
- 1 tablespoon all-purpose flour
- Baguette slices
- 2 cups shredded Gruyère cheese
That’s it. Nothing exotic, nothing you have to hunt down at three different stores.
Read this also: homemade pumpkin syrup coffee Secret Starbucks Won’t Tell You
Tools You’ll Need
- A large, heavy-bottomed pot or Dutch oven
- A sharp knife (you’ll be slicing a lot of onions, so make it count)
- Oven-safe soup crocks or bowls
- A baking sheet
- A wooden spoon for stirring
How to Make It
Step 1: Slice your onions.
Thin, even slices. This isn’t the time to rush.
Step 2: Start the caramelizing.
Melt the butter with the olive oil in your pot over medium heat. Add the onions, sugar, and salt.
Step 3: Be patient.
Cook the onions low and slow, stirring occasionally, for 35 to 45 minutes. They’ll go from white, to translucent, to a deep golden brown.
Here’s the part nobody tells you: this step is the entire recipe. Rush it, and you get onion water. Do it right, and you get something almost caramel-like in flavor.
Step 4: Add the garlic.
Stir it in during the last minute of caramelizing so it doesn’t burn.
Step 5: Deglaze the pot.
Pour in the wine and scrape up all those browned bits stuck to the bottom. That’s flavor, not mess.
Step 6: Add the flour.
Sprinkle it over the onions and stir for a minute. This helps thicken the soup just slightly.
Step 7: Pour in the broth.
Add the thyme and bay leaf, bring it to a simmer, and let it cook uncovered for 25 to 30 minutes.
Step 8: Toast the bread.
While the soup simmers, toast your baguette slices until they’re golden and a little crunchy.
Step 9: Assemble.
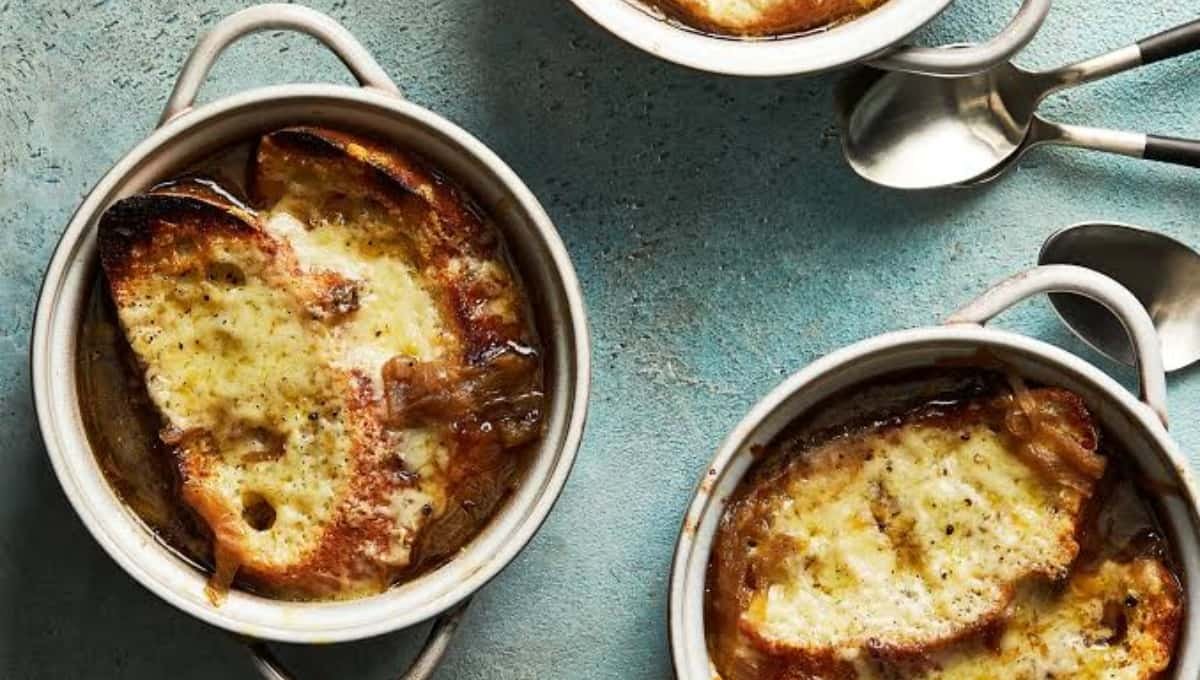
Ladle the soup into oven-safe crocks, top with a slice of toasted bread, then pile on the Gruyère.
Step 10: Broil.
Pop the crocks under the broiler for 2 to 3 minutes, just until the cheese is bubbly and browned in spots. Watch it closely. Cheese goes from perfect to burnt fast.
Pro Tips
A few things I’ve learned the hard way so you don’t have to:
- Use a mix of onion types. Yellow onions are classic, but adding one red onion brings extra depth and a slightly sweeter finish.
- Don’t skip the deglazing step. Those browned bits at the bottom of the pot hold most of the flavor. Skipping this is like throwing away seasoning.
- Salt at the end, not the beginning. Broth reduces as it simmers, and it gets saltier as it goes. Taste before you add more.
- Broil on the middle rack, not the top. This gives the cheese time to melt evenly before the top burns.
- Let the soup rest for 5 minutes after broiling. It’s basically lava straight out of the oven.
Substitutions and Variations
Soup is forgiving. Here’s how to make it your own:
| Original Ingredient | Substitution | Why It Works |
|---|---|---|
| Beef broth | Vegetable broth | Makes it vegetarian, still deeply savory |
| Gruyère | Swiss or provolone | Similar melt, milder flavor |
| White wine | Extra broth + splash of vinegar | Keeps it alcohol-free |
| Baguette | Sourdough or gluten-free bread | Works just as well for the topping |
| Butter | Olive oil only | Makes it dairy-light (still need cheese for topping, though) |
Want to switch things up completely? Try adding a splash of balsamic vinegar during the caramelizing step. It adds a subtle tang that catches people off guard in the best way.
Read this also: This Viral Cherry Mocha Will Ruin Regular Coffee For You
Make Ahead Tips
This is one of those rare soups that actually tastes better the next day.
- Make the soup base up to 3 days ahead and store it in the fridge.
- Reheat gently on the stove, then add bread and cheese only right before broiling.
- You can also freeze the base (without bread or cheese) for up to 3 months.
A Few Extra Details
Nutrition (per serving, approximate):
| Nutrient | Amount |
|---|---|
| Calories | 380 |
| Protein | 16g |
| Carbs | 28g |
| Fat | 22g |
| Sodium | 890mg |
Pairing suggestions:
A simple green salad with a sharp vinaigrette cuts through the richness perfectly. If you want something heartier, a roast chicken on the side works too.
Time-saving tip:
Slice all your onions the night before and store them in an airtight container. It shaves off a solid 10 minutes of prep the next day.
Leftovers and Storage
- Store leftover soup (without bread or cheese) in an airtight container for up to 4 days.
- Reheat on the stove over medium-low heat.
- Add fresh bread and cheese, then broil again before serving. Never microwave the bread topping. It turns soggy and sad.
FAQs Related to French Onion Soup Recipe
1. Can I make this without wine?
Yes. Swap it for extra broth with a small splash of vinegar for acidity.
2. Why did my onions turn out bitter?
This usually means the heat was too high. Low and slow is the whole secret here.
3. Can I use pre-sliced onions from the store?
You can, but freshly sliced onions caramelize more evenly.
4. What if I don’t have oven-safe bowls?
Broil the bread and cheese separately on a baking sheet, then place them on top of the soup right before serving.
5. Is this soup gluten-free?
Not as written, but swapping the flour for cornstarch and using gluten-free bread makes it work.
Wrapping Up
French onion soup isn’t complicated. It just asks for a little patience, and it pays you back tenfold.
Once you’ve made it yourself, that restaurant version starts looking a little overpriced.
Give this one a try, then come back and tell me how it turned out. Did you add your own twist? Did the caramelizing step test your patience like it does mine every single time? Drop a comment below. I’d love to hear about it.