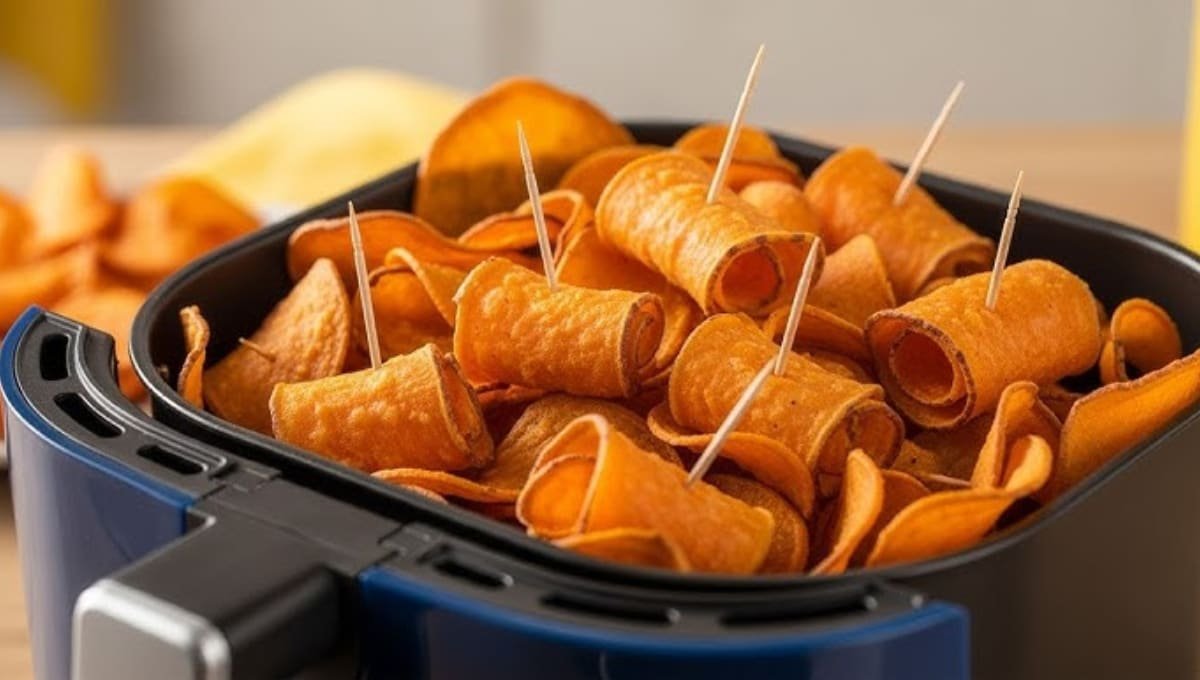
Crispy Air Fryer Potato Chips: I didn’t think a potato chip could surprise me. Then I made a batch in my air fryer, one Tuesday night, mostly out of boredom.
Twenty minutes later, I was standing at the counter eating them straight off the tray. No bowl. No shame. 🥔
That’s the thing nobody tells you about homemade chips. They’re not just “healthier.” They’re genuinely better. Crispier edges, more potato flavor, and you control exactly how salty they get.
This recipe uses three ingredients and one machine you probably already own. Let’s get into it.
What You’ll Need
Here’s everything on the shopping list. Nothing fancy, nothing you can’t find at a regular grocery store.
- 2 large russet potatoes (about 1 pound total)
- 1-2 tablespoons olive oil (or avocado oil)
- 1/2 teaspoon salt, plus more to taste
- 1/4 teaspoon black pepper (optional)
- 1/2 teaspoon garlic powder (optional, for flavor)
- Ice water, for soaking
That’s it. Five main ingredients if you’re keeping it simple.
Tools You’ll Need
- Air fryer
- Mandoline slicer (or a very sharp knife and steady hands)
- Large bowl
- Paper towels or a clean kitchen towel
- Tongs
A mandoline is genuinely worth owning for this recipe. It’s the difference between chips that cook evenly and chips that are thick in some spots, burnt in others.
Read this also: One-Pan Chicken Fajita Bake: The Lazy Dinner Hack Nobody Talks About
Why Air Fryer Chips Actually Work
Regular oven-baked “chips” usually turn out chewy instead of crispy. The air fryer solves that problem because it circulates hot air around every single slice.
That constant airflow pulls moisture out fast. Moisture is the enemy of crunch.
So instead of soggy potato rounds, you get something closer to what comes out of a deep fryer, minus the vat of oil and the cleanup.
How to Make Air Fryer Potato Chips
Step 1: Slice the potatoes
Wash your potatoes well. You can peel them or leave the skin on (I leave it on for extra texture and nutrients).
Using your mandoline, slice the potatoes as thin as possible. You’re aiming for about 1/8 inch thick, almost see-through.
Step 2: Soak in ice water
Place the slices in a large bowl and cover with ice water. Let them soak for 30 minutes.
This pulls out excess starch, which is the secret to a crispier chip. Don’t skip this step even though it’s tempting.
Step 3: Dry them completely
Drain the potatoes and lay them out on paper towels. Pat them dry, then let them air dry for another 5-10 minutes.
Any leftover water will steam instead of crisp in the air fryer, so this step matters more than it seems like it should.
Step 4: Season
Transfer the dried slices to a clean bowl. Toss with olive oil, salt, pepper, and garlic powder until every slice is lightly coated.
You want a thin, even layer, not a puddle at the bottom of the bowl.
Step 5: Air fry in batches
Arrange the slices in a single layer in your air fryer basket. Don’t overlap them. Overlapping is the fastest way to end up with soggy chips.
Air fry at 350°F for 12-15 minutes, shaking the basket every 4-5 minutes.
Watch closely toward the end. Thin slices can go from golden to burnt in under a minute.
Step 6: Cool and repeat
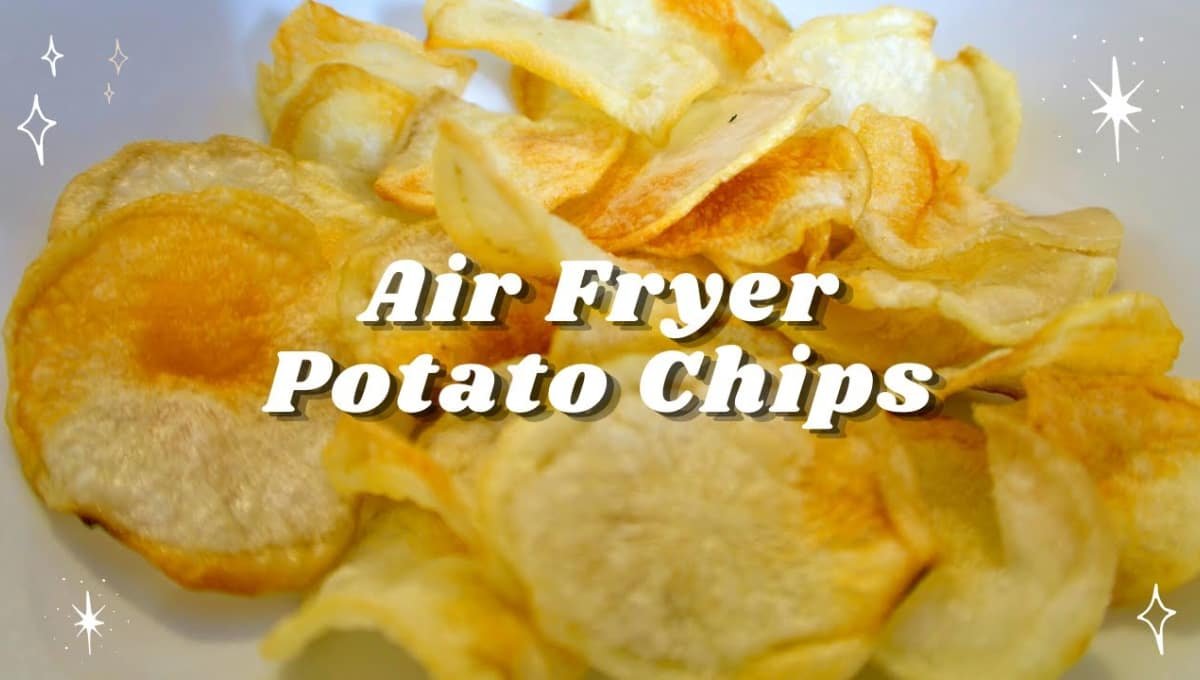
Remove the chips and let them cool on a wire rack for a few minutes. They’ll crisp up even more as they cool.
Repeat with the remaining batches. Yes, this recipe takes patience if you’re making a big batch. It’s worth it.
Pro Tips From Someone Who’s Burned Plenty of Batches
- Slice uniformly. A mandoline isn’t optional if you want consistent results. Uneven slices mean some chips finish way before others.
- Don’t skip the soak. I tried once without soaking, thinking I’d save time. The chips turned chewy instead of crisp. Never again.
- Salt them right when they come out. Salt sticks best to warm, slightly oily chips. Wait too long and it just slides right off.
- Lower temperature, longer time beats high heat. I know it’s tempting to crank the heat to speed things up. Resist it. Slow and steady gives you golden, even chips instead of burnt spots.
- Check at the halfway mark, every time. Air fryers vary a lot by brand and wattage. What takes 12 minutes in mine might take 9 in yours.
Read this also: This 10-Minute Air Fryer Shrimp Secret Beats Takeout
Substitutions and Variations
Want to switch things up? Here’s a quick guide.
| Swap This | For This | Why |
|---|---|---|
| Russet potatoes | Sweet potatoes | Sweeter flavor, slightly softer texture |
| Olive oil | Avocado oil | Higher smoke point, neutral taste |
| Garlic powder | Smoked paprika | Adds a smoky, slightly spicy kick |
| Salt only | Parmesan + herbs | Turns these into a fancier appetizer |
| Russets | Yukon Golds | Buttery flavor, slightly less crisp |
You can also go spicy with a dash of cayenne, or tangy with a sprinkle of vinegar powder once they’re done cooking.
Make Ahead Tips
These chips are best eaten the same day, but you can prep ahead in a couple of ways.
- Pre-slice and soak the potatoes up to 24 hours in advance. Keep them in the ice water in the fridge, covered.
- Dry and season them a few hours before cooking, then store covered in the fridge until you’re ready to air fry.
I wouldn’t recommend fully cooking them more than a few hours ahead, though. They lose that fresh crunch pretty fast.
Nutrition Breakdown (Per Serving)
Rough estimate for a serving of about 20 chips, made with the base recipe:
- Calories: ~120
- Fat: 5g
- Carbs: 18g
- Protein: 2g
- Sodium: ~150mg (depending on how heavy-handed you are with salt)
Compare that to a store-bought bag, which often runs 150-160 calories and closer to 10g of fat for the same portion. Not a massive difference, but the ingredient list is a lot shorter here.
Ingredient Swaps for Different Diets
- Vegan: Already vegan as written.
- Gluten-free: Naturally gluten-free, just double-check any seasoning blends you use.
- Low-sodium: Cut the salt in half and add extra herbs or garlic powder to keep the flavor up.
- Keto-friendly swap: Use thinly sliced zucchini or radishes instead of potato for a lower-carb version. Cooking time will be shorter, closer to 8-10 minutes.
What to Pair These With
- A simple burger or sandwich instead of fries
- A cold beer or sparkling water with lime
- A dip trio: ranch, spicy mayo, and classic ketchup
- Alongside a big salad for a lunch that still feels indulgent
Cooking Time Efficiency Tips
Making chips for a crowd? Here’s how to speed things up without sacrificing quality.
- Slice all your potatoes first, then soak everything together in one large bowl.
- Season all the slices at once in a big bowl before batching them into the air fryer.
- While one batch cooks, use the downtime to slice, dry, or season the next round.
- If your air fryer has a large enough basket or tray, cook slightly overlapping single layers rather than tightly packed ones. Slight overlap is fine. Piling them up is not.
Leftovers and Storage
Homemade chips lose crispness fast, so plan to eat them the same day if you can.
If you do have leftovers:
- Store in an airtight container at room temperature for up to 2 days.
- Skip the fridge. Cold, humid air makes them go soft.
- To re-crisp, pop them back in the air fryer at 350°F for 2-3 minutes.
FAQs Related to Air Fryer Potato Chips
1. Can I make these without a mandoline?
Yes, but it takes more patience. Use a sharp knife and slice as thin and evenly as you can manage.
2. Why are my chips chewy instead of crispy?
Usually one of two things: the slices were too thick, or they weren’t dried thoroughly before air frying. Both moisture and thickness are the enemies of crunch here.
3. Do I need to peel the potatoes?
No. The skin adds texture and nutrients. Just scrub them well first.
4. Can I use a different type of potato?
Yes. Russets give the crispiest result because of their lower moisture content, but Yukon Golds work too with a slightly softer bite.
5. How long do these last?
Best within a few hours of making them. They’ll keep for up to 2 days in an airtight container, though the crunch fades a bit each day.
Conclusion
Homemade air fryer chips take a little more effort than tearing open a bag, but the payoff is real. Crispier texture, real potato flavor, and you get to control exactly what goes into them.
Give this one a try this week and let me know how your batch turns out in the comments below. I’d love to hear what seasonings you used, or if you tried the sweet potato swap.
And if you run into any trouble along the way, ask away. I’ve made every mistake in this recipe at least once, so I promise I’ve got an answer for it.