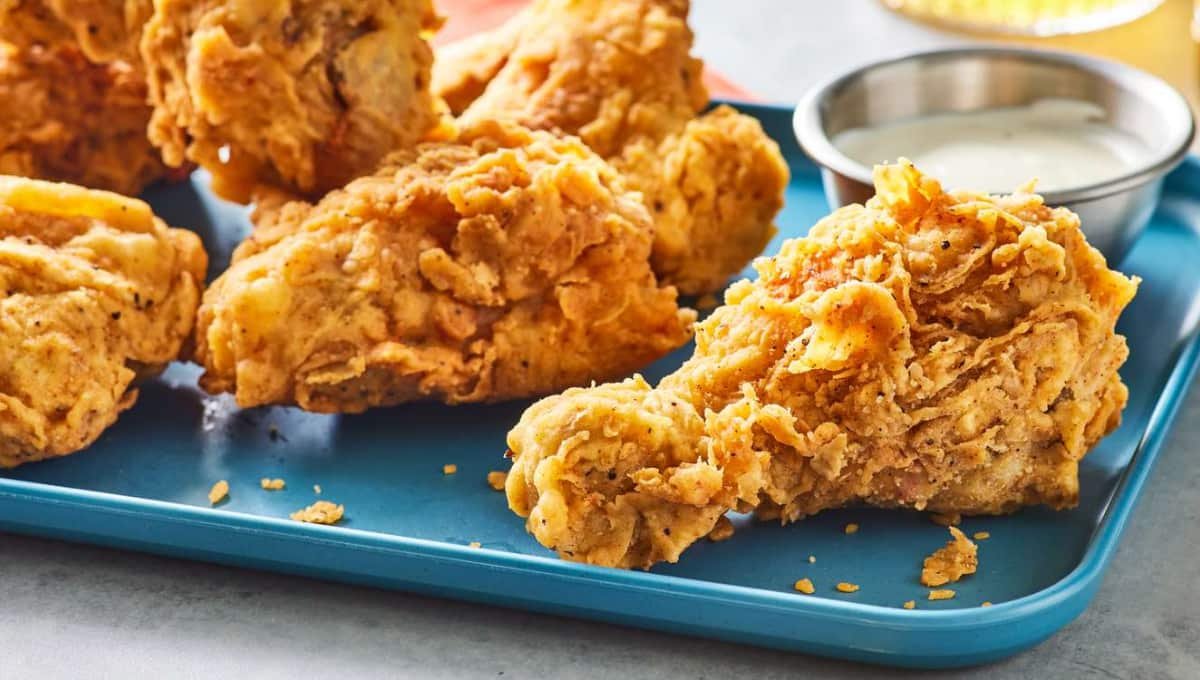
I burned my first attempt at chicken fried chicken so badly the smoke alarm introduced itself to my downstairs neighbors.
That was three years ago. Since then I’ve made this recipe probably forty times, and I finally cracked the code on what makes it taste like the version you get at a Southern diner instead of a sad, soggy cutlet.
Chicken fried chicken is exactly what it sounds like. It’s boneless chicken breast, pounded thin, dredged in seasoned flour, and pan-fried until the crust turns deep golden and shatters when you cut into it. Then it gets smothered in creamy black pepper gravy.
It’s comfort food in its purest form, and it’s a lot easier to make at home than you’d think.
Side Note: If you’ve had chicken fried steak before, this is the same technique, just swapping the beef for chicken. Some people even prefer it because chicken cooks faster and the meat stays a little more tender.
Let’s get into it.
What You’ll Need
For the Chicken
| Ingredient | Amount |
|---|---|
| Boneless, skinless chicken breasts | 4 (about 2 lbs total) |
| All-purpose flour | 2 cups |
| Cornstarch | 2 tablespoons |
| Baking powder | 1 teaspoon |
| Garlic powder | 1 tablespoon |
| Onion powder | 1 tablespoon |
| Smoked paprika | 1 teaspoon |
| Cayenne pepper | 1/2 teaspoon |
| Salt | 2 teaspoons, divided |
| Black pepper | 1 teaspoon, divided |
| Buttermilk | 1 1/2 cups |
| Large eggs | 2 |
| Hot sauce | 1 tablespoon |
| Vegetable oil (for frying) | About 2 cups |
For the Gravy
| Ingredient | Amount |
|---|---|
| Butter | 3 tablespoons |
| All-purpose flour | 3 tablespoons |
| Whole milk | 2 1/2 cups |
| Black pepper | 1 teaspoon (or more, to taste) |
| Salt | 1/2 teaspoon |
Tools You’ll Need
- Meat mallet or heavy rolling pin
- Three shallow dishes or pie plates (for dredging)
- Large cast iron skillet or heavy-bottomed frying pan
- Meat thermometer
- Wire rack and baking sheet
- Whisk
- Tongs
Read this also: The Sticky Sweet Potato Chicken Recipe Everyone Keeps Requesting
Pro Tips
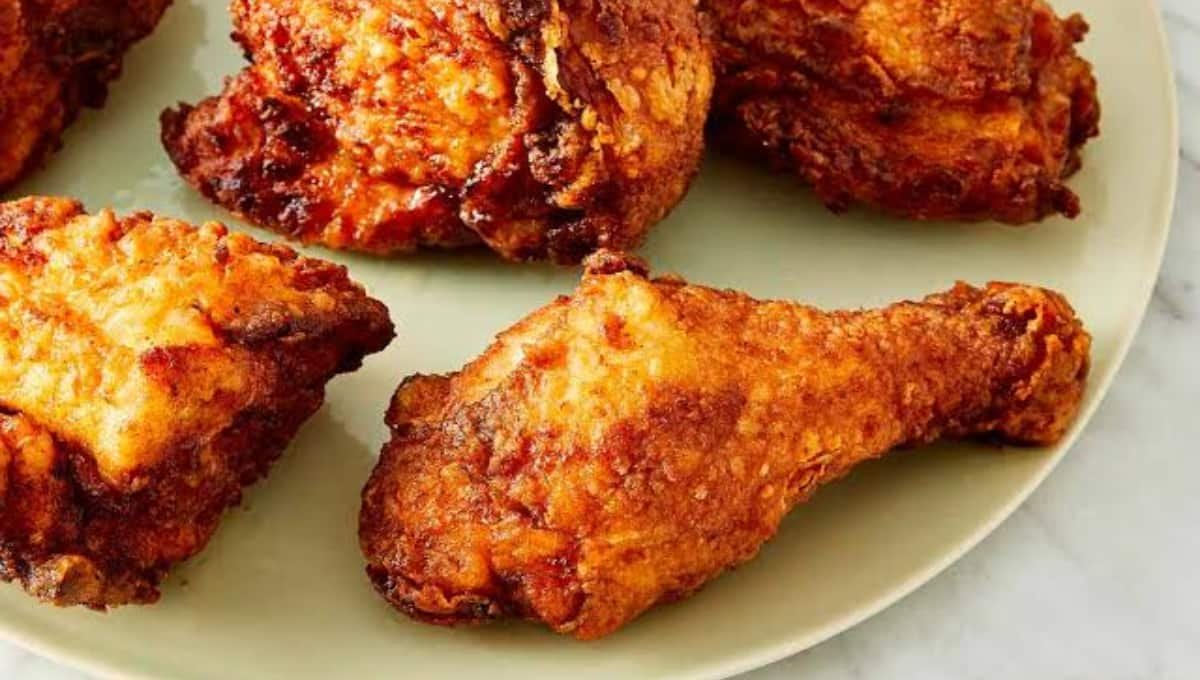
Here’s what I’ve learned after way too many trial runs.
Pound the chicken to an even thickness. This is the step people skip, and it’s the reason their chicken fried chicken cooks unevenly. Aim for about 1/2 inch thick all the way across. A thin, even piece cooks through right as the crust turns golden, instead of burning outside while the middle is still raw.
Let the coated chicken rest for 10 minutes before frying. After you dredge it, set it on a wire rack and let it sit. This helps the coating actually stick instead of falling off in the oil, which is one of the most annoying things that can happen here.
Keep your oil between 325°F and 350°F. Too hot and the crust burns before the chicken cooks. Too cool and you get greasy, soggy chicken instead of crisp chicken. A thermometer clipped to the pan makes this so much easier.
Don’t crowd the pan. Fry two pieces at a time, max. Overcrowding drops the oil temperature fast and you’ll end up with pale, limp crust.
Save some of the frying oil and browned bits for the gravy. This is where a lot of the flavor comes from, so don’t dump it all out. I usually keep about 3 tablespoons of the drippings.
How to Make Chicken Fried Chicken
Step 1: Prep the Chicken
Place each chicken breast between two sheets of plastic wrap. Pound it with a mallet until it’s an even 1/2 inch thick.
Season both sides with 1 teaspoon of salt and 1/2 teaspoon of black pepper.
Step 2: Set Up Your Dredging Station
In the first dish, whisk together the flour, cornstarch, baking powder, garlic powder, onion powder, smoked paprika, cayenne, remaining salt, and remaining pepper.
In the second dish, whisk the buttermilk, eggs, and hot sauce together.
Set out an empty tray or plate for the third station, where the coated chicken will land before frying.
Step 3: Dredge the Chicken
Dip each chicken piece in the flour mixture first, pressing it in on both sides. Shake off the excess.
Dip it into the buttermilk mixture next, letting the extra drip off.
Then dredge it in the flour mixture one more time, pressing firmly so the coating really clings. This double dredge is what gives you that thick, craggy crust.
Place the coated pieces on a wire rack and let them rest for 10 minutes.
Step 4: Fry the Chicken
Heat about 1/2 inch of vegetable oil in a large cast iron skillet over medium heat until it reaches 325°F to 350°F.
Carefully add two pieces of chicken at a time. Fry for 4 to 5 minutes per side, until deep golden brown and the internal temperature hits 165°F.
Transfer the finished chicken to a clean wire rack set over a baking sheet. This keeps the bottom from steaming and getting soggy.
Repeat with the remaining chicken, keeping an eye on the oil temperature between batches.
Step 5: Make the Gravy
Carefully pour off most of the frying oil, leaving about 3 tablespoons of oil and browned bits in the pan.
Add the butter and let it melt.
Whisk in the flour and cook for about 1 minute, stirring constantly, until it smells nutty and turns light golden.
Slowly pour in the milk while whisking, working out any lumps as you go.
Simmer for 4 to 5 minutes, whisking often, until the gravy thickens enough to coat the back of a spoon.
Stir in the black pepper and salt. Taste and adjust.
Step 6: Serve
Plate the chicken and spoon the warm pepper gravy generously over the top. Serve immediately while the crust is still at its crispiest.
Read this also: Why These Ranch Pork Chops Never Turn Out Dry
Substitutions and Variations
| Original | Substitute | Notes |
|---|---|---|
| Chicken breasts | Chicken thighs | Use boneless thighs for a juicier, more forgiving cut |
| Buttermilk | Milk + 1 tbsp lemon juice | Let sit 5 minutes before using |
| Vegetable oil | Peanut oil or canola oil | Both have a high smoke point, good for frying |
| All-purpose flour | Gluten-free 1:1 flour blend | Works well for a gluten-free version |
| Whole milk (gravy) | Half-and-half | Makes the gravy even richer |
| Cayenne | Omit or reduce | For a milder version, skip it entirely |
Side Note: If you’re air frying this instead, spray the coated chicken generously with oil and air fry at 400°F for about 12 to 14 minutes, flipping halfway. The crust won’t be quite as thick, but it’s a solid lighter option.
Make Ahead Tips
You can pound and season the chicken up to a day ahead and keep it covered in the fridge.
The dredging station ingredients (dry mix and wet mix) can also be prepped a day in advance and stored separately, covered, in the fridge.
I don’t recommend fully coating the chicken more than an hour ahead, since the coating gets soggy the longer it sits before frying.
Nutritional Snapshot
Per serving (1 chicken breast with gravy), approximate values
| Nutrient | Amount |
|---|---|
| Calories | 480 |
| Protein | 38g |
| Carbohydrates | 24g |
| Fat | 25g |
| Sodium | 780mg |
Side Note: These numbers will shift depending on how much oil the chicken absorbs and how thick you make the gravy, so treat this as a general guide, not gospel.
Meal Pairings
This dish loves a starchy, simple side that can soak up extra gravy.
- Mashed potatoes, the classic pairing
- Buttery biscuits for scooping up gravy
- Steamed green beans or roasted broccoli for a little crunch
- Mac and cheese if you’re going all in on comfort food
- A simple side salad with a vinegar-based dressing to cut through the richness
Storage and Reheating
Refrigerator: Store the chicken and gravy in separate airtight containers for up to 3 days.
Freezer: Freeze the fried chicken (without gravy) in a single layer, then transfer to a freezer bag. It keeps well for up to 2 months.
Reheating: For the crispiest results, reheat in an oven at 375°F for about 12 minutes, or in an air fryer at 375°F for 6 to 8 minutes. The microwave works in a pinch, but the crust will soften.
Reheat the gravy separately on the stovetop over low heat, whisking in a splash of milk if it’s thickened too much.
FAQs Related to Chicken Fried Chicken
What’s the difference between chicken fried chicken and fried chicken?
Regular fried chicken is usually bone-in and doesn’t get pounded thin. Chicken fried chicken uses boneless, thinly pounded chicken breast, coated the way you’d coat chicken fried steak, and it’s almost always served with gravy.
Why is my crust falling off?
This usually means the chicken wasn’t dry enough before dredging, or it went straight into the oil without resting. Pat the chicken dry first, and let the coated pieces rest for 10 minutes before frying.
Can I bake this instead of frying it?
Yes. Bake at 425°F on a wire rack set over a baking sheet for about 20 to 25 minutes, flipping halfway. Spray the coating with oil first to help it crisp up. It won’t be quite as crunchy as the fried version, but it’s still tasty.
What oil is best for frying chicken fried chicken?
Vegetable oil, canola oil, or peanut oil all work well because they have a high smoke point and a neutral flavor that won’t compete with the seasoned crust.
Can I make the gravy without pan drippings?
Yes, you can use butter instead of the drippings, though you’ll lose some of that deep, savory flavor the browned bits add. A splash of chicken broth in the gravy helps make up for it.
Conclusion
Once you make this one time and taste that first bite of crispy, peppery, gravy-soaked chicken, I think you’ll understand why I’ve made it forty times and counting.
It’s the kind of dinner that turns a regular Tuesday into something worth looking forward to.
Give it a try this week and let me know how it turns out in the comments below. I’d love to hear if you added your own twist, or if you have questions before you get started. I’m always happy to help troubleshoot.