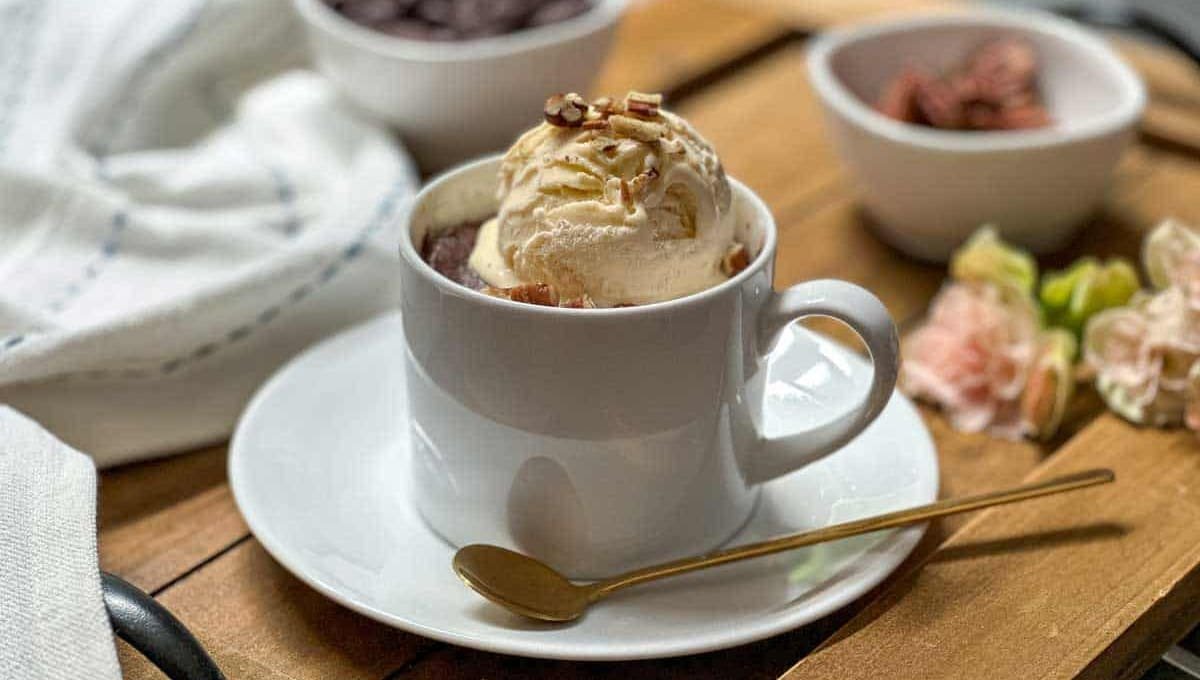
There’s a very specific kind of chaos that happens around 9 PM when a chocolate craving hits and there’s no way I’m turning on the oven, washing a mixing bowl, and waiting 25 minutes for anything.
That’s exactly how this brownie mug cake became a permanent resident of my recipe rotation.
It’s rich, fudgy, and tastes like a real brownie edge piece, minus the pan, the parchment paper, and the cleanup. One mug, one microwave, done in under two minutes.
I’ve made this so many times that I genuinely stopped measuring, but I promise the exact amounts below are what actually gets that deep chocolate flavor without turning into a rubbery science experiment (we’ve all had that version, and it’s not great).
Side Note: If you’ve ever bitten into a microwave mug cake and immediately regretted it because it tasted like a chocolate-flavored sponge, this recipe fixes that. The trick is in the ratio of fat to flour, and I’ll walk you through exactly why it works.
I used to be pretty skeptical of mug cakes in general. My first few attempts years ago came out either gluey in the middle or so overcooked they bounced like a rubber ball. It took a handful of failed mugs (and a slightly annoyed husband who kept getting handed “taste test” spoonfuls) before I landed on a version that actually tastes like something you’d want to eat twice.
The secret is balance. Too much flour and it turns cakey and dry. Too little and it never sets. Too long in the microwave and the edges turn tough while the middle stays raw. This recipe threads that needle, and once you make it a couple times, you’ll be able to eyeball it without even glancing at the recipe card.
What You’ll Need
You probably have most of this sitting in your kitchen right now.
| Ingredient | Amount | Notes |
|---|---|---|
| All-purpose flour | 4 tablespoons | Spoon and level, don’t pack it |
| Granulated sugar | 3 tablespoons | Brown sugar works too |
| Unsweetened cocoa powder | 2 tablespoons | Use a good quality one, it matters here |
| Baking powder | 1/8 teaspoon | Just a pinch |
| Salt | A tiny pinch | Balances the sweetness |
| Milk | 3 tablespoons | Any kind, dairy or plant-based |
| Vegetable oil | 2 tablespoons | Melted butter also works great |
| Vanilla extract | 1/4 teaspoon | |
| Chocolate chips | 1 tablespoon | Optional but strongly recommended |
That’s it. Nine ingredients, most of which are already in your pantry.
Read this also: 90-Second Mug Cake: The Microwave Dessert Fix
Tools You’ll Need
- A microwave-safe mug (at least 12 oz, so it doesn’t overflow)
- A fork or small whisk
- Measuring spoons
No mixer, no oven mitts, no extra bowls to scrub later.
How to Make a Brownie Mug Cake
Step 1: Mix the dry ingredients. In your mug, whisk together the flour, sugar, cocoa powder, baking powder, and salt with a fork until there are no cocoa clumps left. This step matters more than people think. Skip it and you’ll get bitter pockets of cocoa in random bites.
Step 2: Add the wet ingredients. Pour in the milk, oil, and vanilla. Stir until the batter is smooth and glossy. It should look like thick brownie batter, not pancake batter.
Step 3: Fold in the chocolate chips. Drop the chocolate chips on top and gently push a few into the center. These become little pockets of melted chocolate once it’s cooked.
Step 4: Microwave. Cook on high for 70 to 90 seconds. Every microwave is different, so start checking at 70 seconds. The top should look set but still slightly soft in the very center.
Step 5: Let it rest. Give it 1 to 2 minutes before eating. It’ll keep cooking a little from residual heat, and this is what keeps it fudgy instead of dry.
That resting period feels impossible to sit through when the chocolate smell is filling your kitchen, but trust the process here. Cutting into it too early is how you end up with a soupy center that hasn’t finished setting. The mug also holds a lot of heat, so the cake keeps gently cooking even off the microwave plate.
Pro Tips
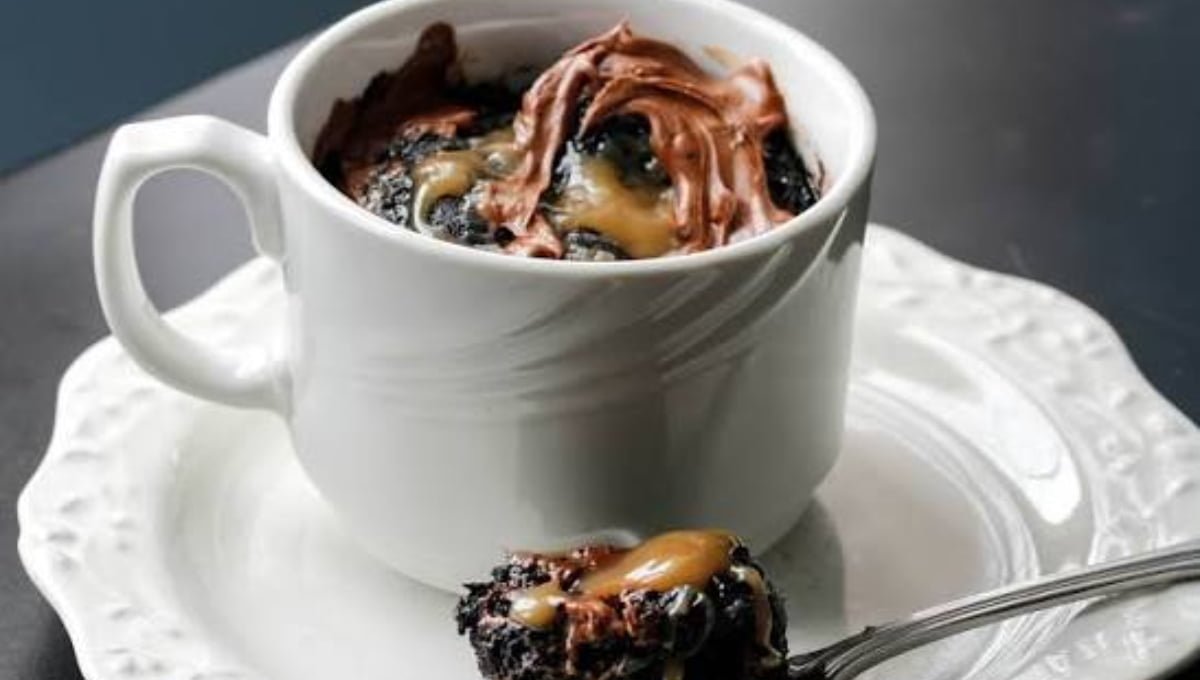
- Don’t overcook it. The number one reason mug cakes turn rubbery is overcooking. Pull it out when the center still looks slightly underdone. It firms up as it sits.
- Use a wide mug, not a tall skinny one. A wider mug means more surface area touches the microwave’s heat evenly, so you avoid a raw middle and burnt edges.
- Weigh your flour if you can. Scooping flour straight from the bag packs it down and you end up with way more than you need, which makes the cake dense and dry.
- Add a pinch of espresso powder. It doesn’t make it taste like coffee. It just makes the chocolate flavor taste deeper and more intense.
- Microwave wattage changes everything. A 700-watt microwave and a 1200-watt microwave will give you very different cook times. Start low and add time in 10-second bursts.
- Let the batter rest for 30 seconds before microwaving. This gives the baking powder a moment to start activating and helps the cake rise a little more evenly instead of doming unevenly on one side.
- Taste your cocoa powder before you commit. Not all cocoa powders are created equal. Some are bitter, some are almost sweet on their own. If yours tastes flat straight out of the container, it’ll taste flat in the cake too, so add an extra half tablespoon of chocolate chips to compensate.
Substitutions and Variations
| Original | Swap | Result |
|---|---|---|
| All-purpose flour | Gluten-free 1:1 blend | Works well, slightly denser texture |
| Vegetable oil | Melted butter | Richer flavor, slightly firmer texture |
| Regular milk | Almond, oat, or soy milk | Fully dairy-free option |
| Granulated sugar | Coconut sugar | Slightly caramel-like flavor |
| Chocolate chips | Peanut butter chips or chopped nuts | Fun flavor twist |
Want a peanut butter brownie mug cake? Swap half the oil for peanut butter and add a swirl on top before microwaving.
Craving something with a little crunch? Toss in crushed pretzels or a spoonful of crushed cookies before cooking.
Feeling fancy? A few chopped pieces of a chocolate bar you already have melt down way better than standard chocolate chips, and they create these gorgeous molten pockets throughout the cake.
If you want a lava cake effect, place a whole chocolate truffle or a square of dark chocolate directly in the center of the batter before microwaving. Once it cooks, the middle stays gooey and the outside sets like a normal brownie.
Read this also: Why Is Everyone Suddenly Obsessed With Keto Fat Bombs?
Make Ahead Tips
You can pre-mix the dry ingredients (flour, sugar, cocoa, baking powder, salt) in small mason jars or snack bags ahead of time. Keep a few of these ready in your pantry, and when the craving hits, just add the wet ingredients and microwave.
This is genuinely one of my favorite meal prep hacks for a sweet treat. It turns a 5-minute recipe into a 90-second one.
Nutritional Snapshot
Approximate values for one mug cake made with vegetable oil and regular milk:
| Nutrient | Amount |
|---|---|
| Calories | ~340 |
| Total Fat | 17g |
| Carbohydrates | 45g |
| Sugar | 27g |
| Protein | 5g |
Keep in mind this changes depending on your exact ingredients and swaps.
Meal Pairing Ideas
- A scoop of vanilla ice cream on top, obviously
- A cup of coffee or hot chocolate for a cozy pairing
- Fresh raspberries or strawberries for a little tartness against the rich chocolate
- A dollop of whipped cream if you’re feeling extra
Leftovers and Storage
Honestly, this recipe rarely has leftovers, but if you make a double batch:
- Room temperature: Cover and keep for up to 1 day.
- Refrigerator: Store in an airtight container for up to 3 days. Microwave for 15-20 seconds before eating to bring back the fudgy texture.
- Freezer: Not recommended. The texture changes significantly once thawed and turns a bit rubbery.
FAQs Related to Brownie Mug Cake
1. Can I make this without a microwave?
Yes, bake it in an oven-safe mug at 350°F for about 15-18 minutes, until the edges are set but the center is still soft.
2. Why did my mug cake overflow?
Your mug was probably too small or too narrow. Use a mug that’s at least 12 oz and don’t fill it more than halfway with batter.
3. Can I double the recipe?
Yes, but split it between two mugs instead of one. One large batch in a single mug tends to cook unevenly.
4. Why is my mug cake dry?
It’s almost always overcooking. Pull it out a little earlier than you think you should and let it finish setting as it rests.
5. Can I make this egg-free?
This recipe is already egg-free, which is part of why it’s so quick and mess-free.
6. Is this recipe kid-friendly to make?
Very much so. It’s a great first “cooking” project for kids since there’s no oven involved and the steps are simple.
7. Why does my mug cake taste bitter?
This usually comes down to the cocoa powder. Some brands are naturally more bitter, especially Dutch-processed varieties. Try adding an extra teaspoon of sugar or swapping brands if this happens.
8. Can I use a mug cake recipe as a base for other flavors?
Definitely. Once you’ve got the basic ratio down, you can swap the cocoa powder for matcha, add cinnamon for a spiced version, or fold in mashed banana for a completely different dessert.
9. How do I know when it’s actually done?
The edges should look fully set and slightly pulled away from the mug, while the very center still looks a touch underdone. If you press it gently and it springs back but leaves a slight indent, it’s ready.
Conclusion
This brownie mug cake is proof that a real chocolate fix doesn’t need a full baking session, a sink full of dishes, or an hour of your evening.
Keep the dry ingredients pre-mixed in your pantry, and you’re always about 90 seconds away from something warm, fudgy, and genuinely satisfying.
Try it out this week and let me know in the comments how it turned out for you. If you tried any of the swaps above, like the peanut butter version or the espresso powder trick, I’d love to hear how it went.