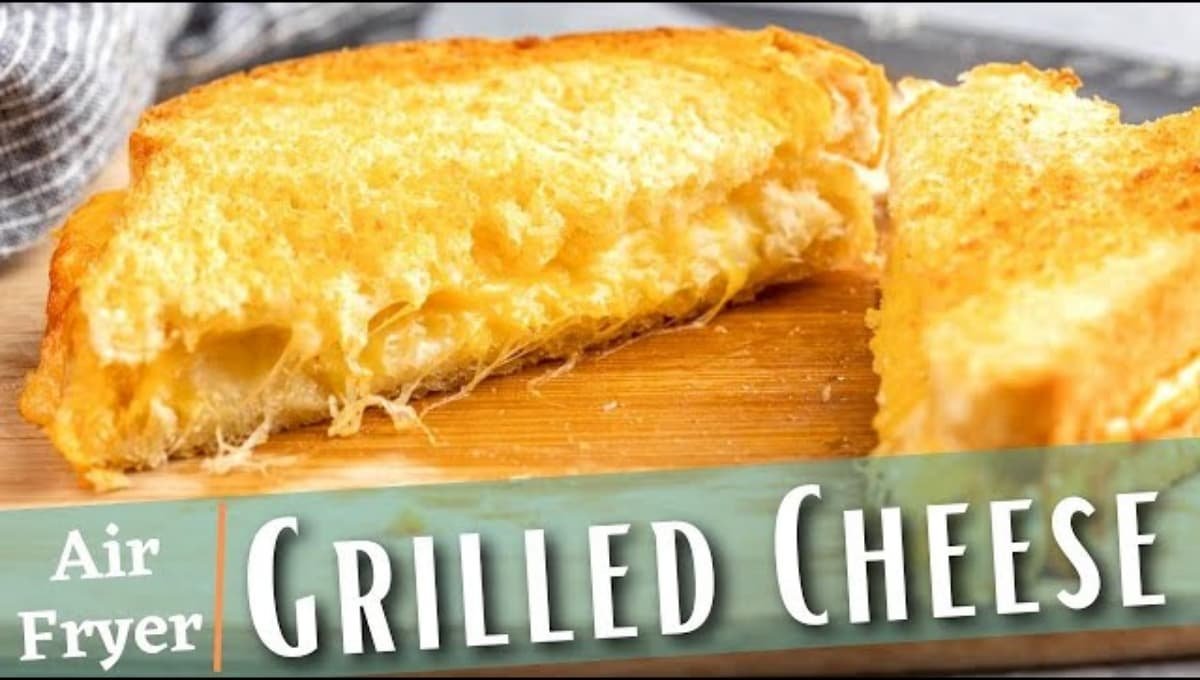
Air Fryer Grilled Cheese: I used to think grilled cheese was a stovetop-only situation. Then one lazy Tuesday I had zero energy to stand over a pan flipping bread, and I tossed it in the air fryer instead.
That was the day my stovetop grilled cheese era officially ended.
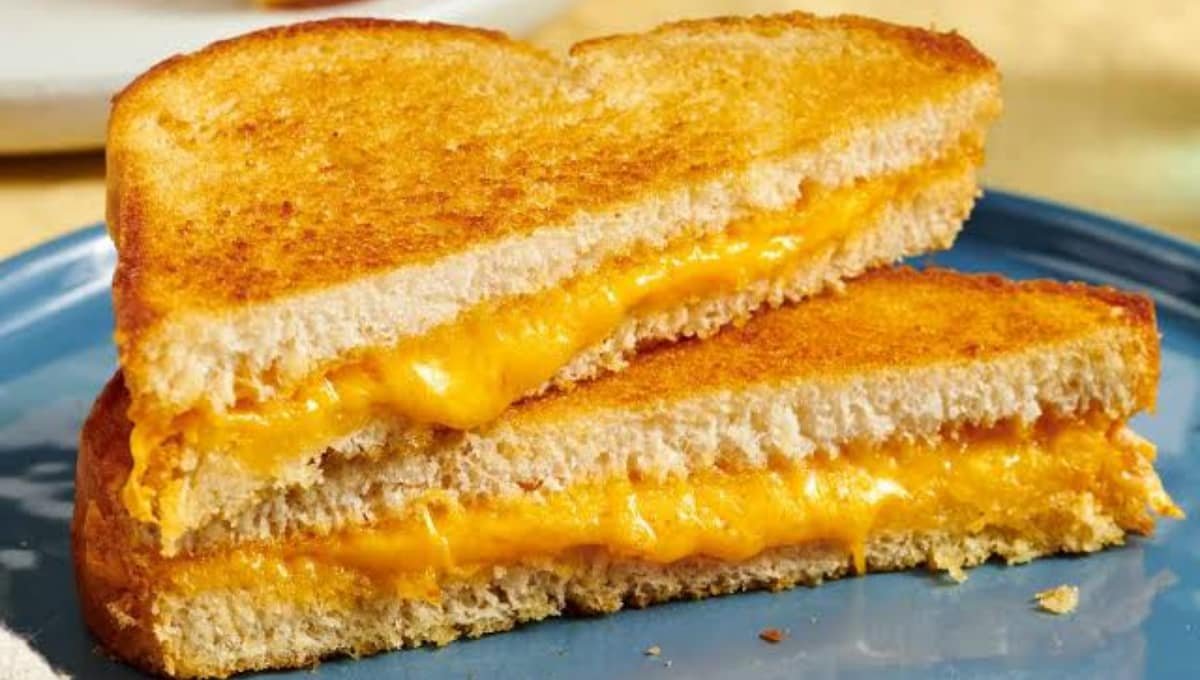
The bread comes out shatter-crisp on the outside. The cheese goes fully melty in the middle. And I didn’t have to babysit anything or scrape burnt butter off my pan afterward.
Side Note: If you’ve ever burned one side of your grilled cheese while the other side stayed sad and pale, this method fixes that completely. The air fryer cooks both sides evenly at the same time.
This has become my go-to lunch when I’m working from home and don’t want to think too hard. It’s also the recipe I make when my nephew visits, because even a picky 7-year-old can’t say no to it.
Why the Air Fryer Actually Makes a Better Grilled Cheese
I was skeptical at first too. A sandwich feels like such a stovetop thing, right?
But hear me out. The air fryer circulates hot air around the entire sandwich instead of just heating from one side like a pan does. That means both slices of bread crisp at the same rate, and you’re not stuck constantly pressing down with a spatula hoping the middle catches up.
It also means less oil, less butter dripping into a hot pan, and zero risk of that acrid smell that happens when butter burns just a little too long.
The only downside is you can’t watch it melt through a pan like you can on the stove. But honestly, that’s a small trade for a sandwich that comes out this consistent every single time.
Read this also: Caprese Salad Skewers That Disappeared in 11 Minutes at My Potluck
What You’ll Need
| Ingredient | Amount |
|---|---|
| Bread (sandwich bread or sourdough) | 2 slices |
| Shredded or sliced cheese (cheddar, American, or a mix) | 3/4 cup or 2 slices |
| Butter or mayo, softened | 2 tbsp |
| Garlic powder (optional) | 1/4 tsp |
That’s genuinely it. Four ingredients, and two of them are optional add-ons for flavor.
Tools You’ll Need
- Air fryer (basket or oven-style, both work)
- Butter knife or small spatula
- Cutting board
- Parchment paper or an air fryer liner (optional, but helps a ton with cleanup)
Pro Tips
1. Butter the bread, not the air fryer basket. Buttering the basket itself just makes a mess and doesn’t help the sandwich crisp evenly. Butter goes on the bread, edge to edge.
2. Use room temp cheese. Cold cheese straight from the fridge takes longer to melt, which means your bread can over-crisp before the inside catches up. Let it sit out for 10 minutes first.
3. Don’t skip the toothpick trick. If your sandwich keeps sliding apart or won’t stay together while cooking, stick a toothpick through the middle before air frying. Just remember to pull it out before you bite in.
4. Preheat for 2-3 minutes. A hot basket means your bread starts crisping the second it goes in, instead of slowly warming up and turning soggy.
5. Add mayo instead of butter for a crispier crust. This is a trick I picked up from a diner cook years ago. Mayo has a higher smoke point than butter, so it browns more evenly without burning as fast.
6. Don’t overload the cheese. More cheese sounds like a good idea until it starts oozing out the sides and dripping into your basket. Stick to around 3/4 cup total, and if you want it extra cheesy, add a thin layer of shredded cheese right on top of the outside crust for the last minute of cooking.
Substitutions and Variations
| Original | Swap | Why It Works |
|---|---|---|
| Sandwich bread | Sourdough or Texas toast | Sturdier crust, holds up better to air frying |
| Cheddar | Pepper jack, gouda, or mozzarella | Different melt and flavor profile |
| Butter | Mayo or olive oil | Crispier, more even browning |
| Plain | Add sliced tomato or ham | Turns it into a full meal |
If you’re dairy-free, plant-based cheese slices actually melt surprisingly well in the air fryer since the dry heat helps them soften faster than a regular stovetop pan would.
Read this also: Peach Bruschetta That Ruins Regular Toast Forever (20-Min Recipe)
How to Make Grilled Cheese in the Air Fryer
Step 1: Preheat the air fryer. Set it to 370°F and let it run for 2-3 minutes while you build your sandwich.
Step 2: Butter one side of each bread slice. Spread butter or mayo edge to edge on the outside of both slices. This is the side that touches the basket.
Step 3: Add the cheese. Place your cheese between the two unbuttered sides, so the buttered sides face outward.
Step 4: Assemble the sandwich. Press the two slices together gently so the cheese is sandwiched in the middle.
Step 5: Place it in the air fryer. Lay the sandwich in the basket, buttered side down and up. If your basket has a rack or liner, use it to keep the sandwich flat.
Step 6: Air fry for 4 minutes. Cook at 370°F for 4 minutes on the first side. You’ll start smelling that toasty, buttery smell around the 3-minute mark, which usually means it’s close.
Step 7: Flip and cook again. Flip the sandwich carefully with tongs or a spatula. Cook for another 3-4 minutes until both sides are golden and the cheese is fully melted. Peek through the basket window if yours has one, since air fryers vary a lot in how hot they actually run.
Step 8: Rest for 1 minute, then slice. Let it sit briefly so the cheese settles before cutting. This keeps it from oozing out everywhere the second you slice it.
Make Ahead Tips
You can pre-butter your bread slices and store them in the fridge for up to 2 days before assembling. This is handy if you’re meal prepping lunches for the week.
I don’t recommend fully assembling the sandwich ahead of time though. The bread gets soggy from sitting against the cheese, and you lose that crisp exterior that makes this recipe worth making.
Leftovers and Storage
Grilled cheese is really best eaten fresh, but if you have leftovers:
- Fridge: Store in an airtight container for up to 2 days.
- Reheat: Pop it back in the air fryer at 350°F for 2-3 minutes. This brings the crisp back way better than a microwave ever could.
- Avoid the microwave if you can help it. It’ll heat the cheese fine, but the bread turns chewy and kind of sad.
Nutritional Snapshot
Per sandwich, using cheddar and butter
| Nutrient | Approximate Amount |
|---|---|
| Calories | 380-420 |
| Protein | 15g |
| Carbs | 28g |
| Fat | 24g |
Numbers will shift depending on your bread and cheese choice, so treat this as a general estimate rather than gospel.
Meal Pairings
- A bowl of tomato soup, because some pairings are classic for a reason
- A simple side salad with vinaigrette to cut through the richness
- Sliced apples or grapes for a little sweetness on the side
- Pickles, if you’re the type who needs something tangy next to your cheese
FAQs Related to Air Fryer Grilled Cheese
1. Can I make grilled cheese in the air fryer without butter?
Yes. Use mayo, olive oil spray, or even just skip the fat entirely for a lighter version. The bread won’t be quite as crisp, but it still works.
2. What temperature is best for air fryer grilled cheese?
370°F is the sweet spot. Anything higher tends to brown the bread before the cheese fully melts.
3. Why is my sandwich not crisping evenly?
This usually happens when the basket is overcrowded or wasn’t preheated. Give your sandwich room to breathe and always preheat first.
4. Can I use frozen bread?
You can, but let it thaw for a few minutes first. Frozen bread straight into the air fryer cooks unevenly.
5. Do I need to flip it halfway through?
Yes, flipping is what gives you that golden crust on both sides. Skipping it leaves one side pale.
6. Can I make more than one sandwich at a time?
Depends on your air fryer’s size. Most standard baskets fit two sandwiches side by side as long as they’re not touching. If yours is smaller, cook them one at a time so the air can circulate properly.
7. Why did my cheese leak out everywhere?
This usually means the cheese was overloaded, or the bread slices weren’t sealed close enough at the edges. Press the edges down gently before cooking to help keep everything contained.
Conclusion
This air fryer grilled cheese has honestly changed how I make lunch. It’s faster than standing over a stove, it’s less messy, and somehow the crust turns out crispier than anything I ever managed in a pan.
If you try this, drop a comment below and let me know how it turned out. And if you experiment with a fun cheese combo, I want to hear about that too.